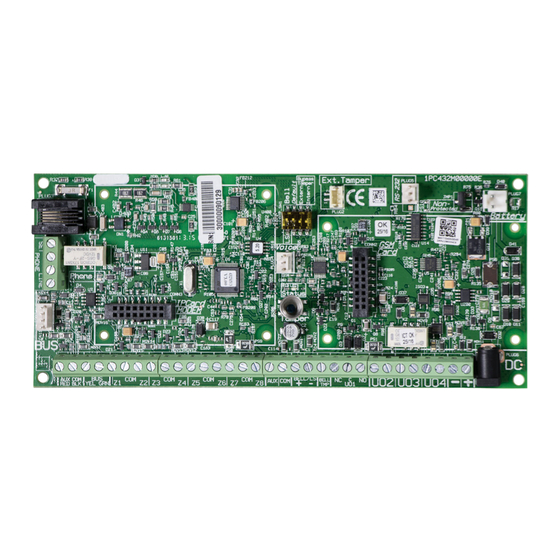
2gig Technologies Vario Manuale di installazione rapida - Pagina 12
Sfoglia online o scarica il pdf Manuale di installazione rapida per Sistema di sicurezza 2gig Technologies Vario. 2gig Technologies Vario 18. Voice module
Anche per 2gig Technologies Vario: Manuale di istruzioni per l'installazione (6 pagine), Manuale d'uso rapido (10 pagine)

NOTE:
When adding a wireless expander, define the Bypass Box Tamper as YES if the wireless expander is mounted inside the
2GIG Vario system housing and not mounted separately.
2. BUS Test
The BUS test (Quick Keys ⑦ ① ③ ① ) sends multiple test commands to each device connected to the system to ensure reliable connectivity.
Press
to begin the automatic BUS test in which every device is tested to ensure its connection is 99% or higher.
NOTE:
If a low reading is experienced, check connections with the device and repeat the BUS test.
Zone Attributes
The 2GIG Vario system supports up to 50 zones. Each zone can be defined to be a wired zone, a wireless zone, or a BUS zone. The attributes for each zone
vary according to the zone's type (wired, wireless, or BUS zone).
You can define the basic parameters for a zone using the One By One option, or you can define all attributes using the zones category (Quick Keys ② ① ② ).
1. From the main Installer Programming menu, select ② ① (Zones > Parameters).
2. Select [One By One] and press
3. Using the numeric keys, enter the desired zone number and press
NOTE:
The display next to the selected zone number defines the type of zone and its location in the system in the format XY:ZZ.
X: Zone physical type (E = Wired zone, W = Wireless zone, B = BUS zone, I = Input zone)
Y: The expander ID number. 0 represents the main BUS (for example, E0:04 refers to wired zone 04 on the main board; B0:15 refers to
BUS zone 15 on the main BUS
ZZ: The serial zone number in the system (01–50)
4. Set the following zone parameters
Labels: Enter a meaningful name for the zone. Use the numeric keys as described in Keys Menu Navigation.
Partitions: Use the numeric keys to select or deselect the partitions to which the zone will belong and use the
,
Zone Type: Use the Up and Down keys to select the required zone typ and press
Zone Sound: Select the required zone sound while the system is armed in Away, Armed at Stay, or Disarmed.
NOTE:
This setting determines if the zone will be silent, cause a bell to activate, cause a buzzer to activate, cause a bell and buzzer to
activate, create a keypad bleep for chime, etc., when the zone is opened or causes an alarm condition. "Buzzer" refers to the sound
emitted fro a keypad.
Zone Termination: (Only applicable for hard-wired zones.) Use the Up and Down keys to select the required zone termination type (NO,
NC, EOL, or DEOL) and press
Zone Response: Use the Up and Down keys to select the required response time and press
Advanced: Includes advanced attributes for a zone, such as supervision for wireless zones, BUS zone parameters, forced arming, and
more.
12
.
keys to select partition groups. Press
.
.
to confirm.
.
Copyright © 2016 Nortek Security & Control LLC
2GIG Vario Quick Install Guide
,
,
.
