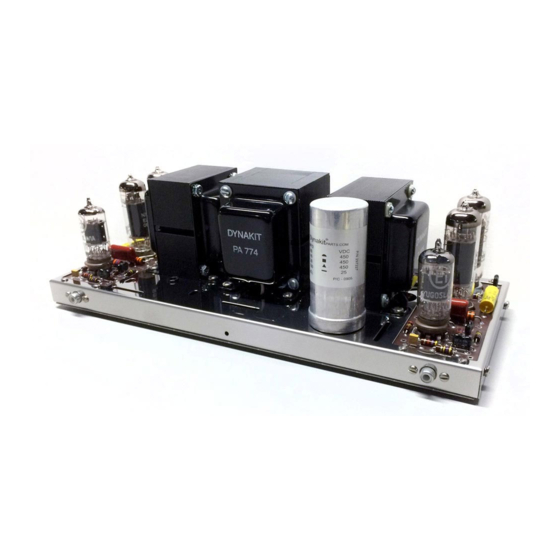
DYNACO Dynakit ST35 Manuale di istruzioni per il montaggio e il funzionamento - Pagina 6
Sfoglia online o scarica il pdf Manuale di istruzioni per il montaggio e il funzionamento per Amplificatore DYNACO Dynakit ST35. DYNACO Dynakit ST35 17.

WI.!UNG INSTRUCTIONS'. '
LEFT CIRCUIT BOARD
LEFT 3- SCREW TERMINAL 51
• ':. -:l'
.and-white leads from the LEFT output transformer
to exactly 2" in length. 'Strip and tin the ends, and
-' 'twist the' leads together, as" in the diagrain; Connect
the blue-and-white lead to pin
#7
oc'
V -2
on the
LEFT circuit
boa~d
(S).
11 (
Connect the green-and-white lead to pin
#9
of
V-2
(S) .
12 ( )
Twist together the blue and green leads from the
LEFT output transformer. Connect the bll;le lead tq
pin
#7
of
V-3
on the LEFT circuit'board (S),
13 (
Connect the green lead to pin
#
9
of
V-3.
14(
Connect the red lead (rom the LEFT output trans-
former to lug
#2
of the filter capacitor. This is the.
lug next
to
the square symbol on the plastic under-
side of the capacitor, and should be in the position
shown in the pictorial diagram,
Ci
Connect the. qrown power transformer lead to pin
#4
of
V-6.
9(
I
lOr ) The LEFT output transformer leads are connected
next. Carefully cut the blue-and-white. and green-
When cutting transformer leads to correct length,
strip the insulation at the end of each lead to expose
about
114"
of wire. Tin the exposed end, by heating
it with the soldering iron and melting
a
bit of solder
onto it; this wiI1 keep the end from fraying, and
permits a more secure mechanical connection. Meas-
ure the length with a ruler, from the chassis to the
end of the lead..while holding the lead straight out
from and perpendicular to the" chassis. Cut one of
the black leads to 11/
2 "
in length, and connect it to
lug
#4
of· the 5-lug terminal strip. Do not solder;
remember, a connection is only to be soldered when
the symbol (S) is printed after the instruction.
2( )
Cut
.~other
,black lead to
3lJ2",
and connect it
to termmal Bof the fuse holder (S).
.
3 (. ) Twist
~ether
the two red power transformer leads..
Connect' one of them. to lug #
1
of the 5-lug terminal
strip.
.
4( )
Connect the other red power transformer lead to lug
'#2
of the 5-lug terminal
str~p.
5( )
Cut the 'red:ahd-yellow power transformer lead to
'. 3lJ2"
in length, and connect it to chassis-mounqng
lug A of the filter capacitor.
'
6 (
The four remaining power transformer leads are con-
nected next. Cut the green and green-and-white
leads to 6" each. and twist them together, as shown
. in the diagram. Connect the green-and-white lead to
pin #5 of
V-3
on the LEFT circuit board.
. 7( ,)
Connect the green power transformer lead to pin
#4
ofV-3. IMP"ORTANT:'
Because
the tube ~ocket lugs
~:.'
'. are smill(
'a~d
closely spaced;' it', is imperative that
" all'connections' to them be made with care. Keep
stripped wire ends as short as possible;' insert them
in the lugs 'up to the insulation; cut off excess imme--
diately' after soldering each connection; check each
time to be certain that nearby terminals and hard-
ware cannot accidenta.Jly be touched. by bare wire
ends,
8(
Cut the brown and the brown-and-white power
transformer leads to
6".
Twist them together, and
connect the brown-and-white lead to pin
#5
of
V-6
on the RIGHT circuit board.
)
,n
6
,
/
