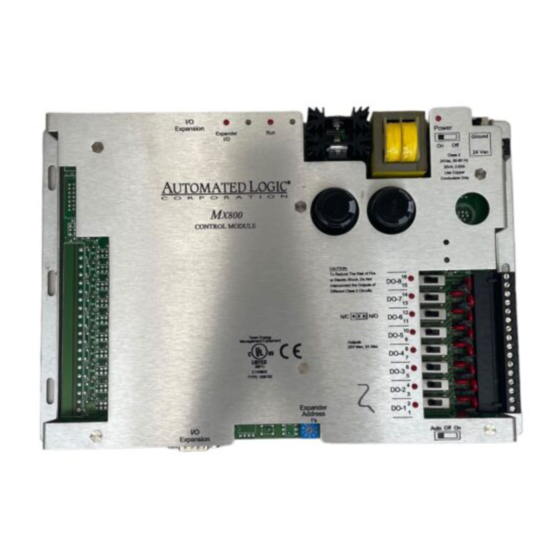
Automated Logic MX800 Istruzioni tecniche - Pagina 3
Sfoglia online o scarica il pdf Istruzioni tecniche per Sistemi di controllo Automated Logic MX800. Automated Logic MX800 5.

Status Indication Visual (LED) status of
expansion communication, running, and
power.
Protection Voltage, current, and ESD
protection on incoming power.
Listed by UL 916 (PAZX), cUL C22.2 No.
205-M1983 (PAZX7), FCC Part 15 -
Subpart B - Class A.
Mounting
Screw the MX800 into an enclosed panel
using the mounting holes provided on the
cover plate. Be sure to leave about 2 inches (5
centimeters) on each side for wiring.
Addressing
Before setting or changing the address, make
sure the MX800's power is off. The MX800
only reads the address when the module is
turned on.
The MX800 uses a rotary switch to assign the
module's expander number. If the module's
expander address is three, set the switch to
three, as shown in Figure 2.
Figure 2. Setting the expander's address
Power Wiring
Whenever possible, make sure the module's
power and communications connections are
working properly before connecting any input
or output points.
CAUTION The MX800 module is a Class 2
device (less than 30VAC, 100VA maximum).
Take appropriate isolation measures when
mounting the MX800 module in a control
Revised 3/29/00 • MX800
1's
panel where non-Class 2 devices (for
example, 120VAC) or wiring are present.
You can power several modules from the
same transformer if you maintain the same
polarity.
The MX800's operating range is 21.6VAC to
26.4VAC. If voltage measured at the module's
power input terminals is outside this range,
the module may not work properly.
1. Turn the module's power off. This
prevents the module from being powered
up before the proper voltage is verified.
2. Make sure the 24VAC power source is off.
3. Connect the power wires to the module's
power terminals labeled Ground and
24VAC (see Figure 1 on page 2 for
location).
4. Apply power to the transformer.
5. Make sure that 24VAC is present at the
module's power input terminals.
6. Set the module's address. Refer to
"Addressing" on page 3 for details about
setting the address.
7. Turn the module's power switch on.
When the module turns on, the Run and
Power LEDs turn on. The Run LED begins
blinking and the Error LED turns off. See
"LEDs" on page 4 to troubleshoot the
LEDs. If the module does not respond, call
Technical Support at (770) 429-3002.
Digital Outputs
The MX800 module has eight digital outputs
that can be connected to a maximum of 24
Volts AC/DC. Each output is a dry contact
(rated at 3A, 24VAC maximum) that can be
configured as normally open or normally
closed, according to the jumper setting.
3
© 2000 Automated Logic Corporation
