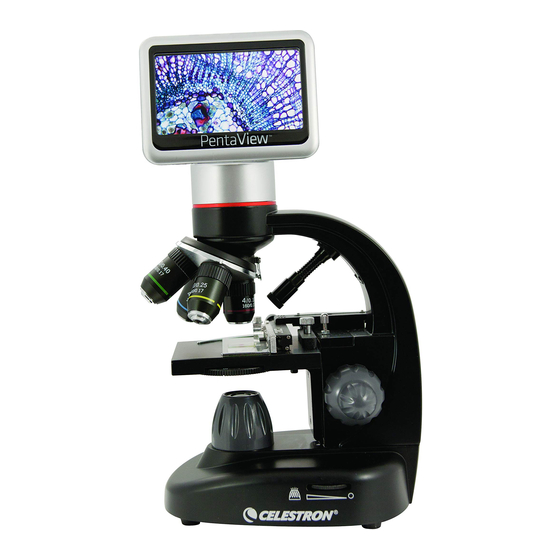
Celestron PentaView 44348 Manuale di istruzioni - Pagina 5
Sfoglia online o scarica il pdf Manuale di istruzioni per Microscope Celestron PentaView 44348. Celestron PentaView 44348 8. Lcd digital microscope
Anche per Celestron PentaView 44348: Manuale di avvio rapido (13 pagine)

Note: A vernier scale on both axes allows the exact marking
and replication of an object in the field of view that the user
may want to come back to.
4. Use the objective nosepiece (Figure 1) to rotate the objective
lenses (Figure 1) until the 4x objective lens is directly over
the specimen. Always start with the lowest power objective
(4x with this microscope) which gives you 40 power and work
your way up to higher powers. At 40 power you will have the
widest field of view and the brightest image.
5. Look at the LCD screen while turning the focus knob (Figures
1 & 7) until the specimen comes into view. You may need to
adjust the stage movement knobs (Figure 7) slightly to center
the specimen in the field of view. The larger focus knob is the
coarse focus and the smaller knob is for fine (exact) focusing.
6. With the 4x objective lens, you can also vary the power
anywhere from 40x to 160x by using the digital zoom.
7. For higher powers, you will need to rotate the objective
nosepiece to the 10x or 20x and to the 40x objective for the
maximum power. You will have to refocus when changing
the power of the objective lenses. While using any of these
objective lenses you also can increase power by using the
digital zoom. Note that using a higher power objective lens
will yield sharper images versus a lower power objective lens
and digital zoom for the same magnification.
8. Your microscope includes a 60x objective lens packed
separately. The 60x objective allows you the maximum
power available. When specimen detail requires extreme
power, you can install the 60x objective lens by replacing any
existing objective lens. Turn the knurled ring at the top of the
objective lens you want to replace counterclockwise until it
comes out. Then, install the 60x objective lens by turning it
clockwise until tight.
9. To use the digital zoom, you touch the screen icons on the
right side of the screen to increase or decrease the power
from 1x to 4x.
Note: When changing objective lenses, lower the stage
to its lowest position so you will not hit anything during
the rotation. Also, at the higher powers, be careful when
raising the stage close to the objective lens so that the
objective does not hit the slide specimen (or other object) and
cause damage.
FIGURE 8
Wheel
Using Filters & the Diaphragm — Normally most viewing or
imaging will be done without colored filters and before using the
microscope check to make sure no filters are in the optical path.
However, to bring out different levels of detail, experiment with
changing the color of the back lighting of the specimen especially
for very bright transparent specimens. To change the lighting
color, rotate the wheel (Figure 8) to the desired color – Red (R),
Green (G), Blue (B). Each color is centered when you hear/feel the
faint click stop. You may need to refocus by adjusting the focus
knob (Figure 1) slightly for best viewing. You should experiment
with each of the colors to see the results.
Diaphragm — within the wheel are holes with three different
diameters, (1) 1 mm, (3) 3 mm, (6) 6 mm which limit the amount
of light passing through to the specimen. These holes are part of
the diaphragm which allows you to change the hole opening size
to maximize the contrast, brightness, etc.
The default setting is the (6) for the 6 mm hole which should be
used for most viewing. You can look under the stage (see Figure
9) to make sure the proper setting you wish is actually
being used.
rotating the LCD screen — You can rotate the viewing position
of the LCD screen 180° – 90° to the right and 90° to the left. You
can view any position you choose along the 180° rotation. This
function allows you to share the view with others without actually
moving the complete microscope. To move the LCD screen, hold
the top of the arm (see Figure 1) with one hand and then hold
the LCD module with the other and move it to the position you
desire.
You can adjust the tension of the rotation of the monitor by
tightening/loosening the adjustment screws as shown in Figure
1. It is best to have the tension somewhat tight so the monitor is
rigid. turn the LCD screen on and you are now ready to use
your microscope for viewing and if any problems check the
trouble shooting section.
aV/tV Cable — To view specimens or images on a larger format
screen, connect the AV/TV cable in the receptable (see Figure1)
on one end and the other end into the socket on the monitor (if
your monitor has a socket for this purpose).
5
FIGURE 9
