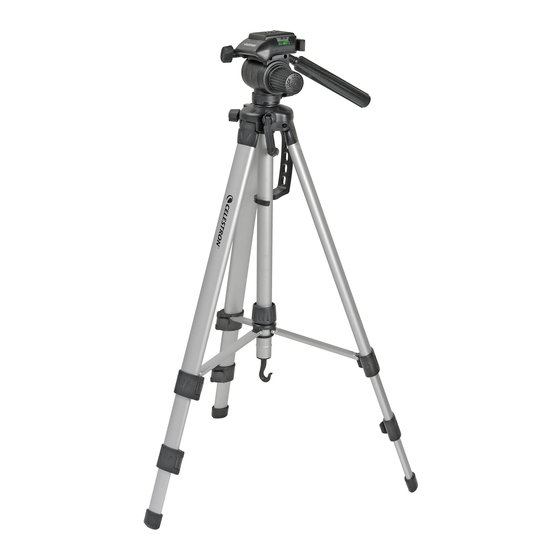
Celestron 93606 Foglio di istruzioni - Pagina 2
Sfoglia online o scarica il pdf Foglio di istruzioni per Camera Accessories Celestron 93606. Celestron 93606 2. Photographic tripod
Anche per Celestron 93606: Manuale rapido (2 pagine)

TRIPOD MOUNTING
To attach an instrument to the tripod, remove the quick-release
plate from the tripod. To do this, pull back the quick release
lock lever, slide the platform towards the lock lever and lift it
out of the tripod head.
Next, place the tripod adapter of the instrument over the
1/4x20 screw on the quick-release plate. Keep in mind that
the plate is not on the tripod at this time. Tighten the screw
(located on the underside of the plate) until secure. Directly
in front of the 1/4x20 screw is a small peg used to secure an
USING YOUR TRIPOD
For photography, your camera can be oriented in a vertical
or horizontal position. To change position, loosen the locking
screw at the opposite end of the pan handle. This will allow
you to move the camera from the horizontal position to the
vertical position, or anywhere in between. Once the camera is
in the desired orientation, retighten the locking screw.
To change the altitude angle of the tripod head, loosen the
large altitude locking knob while holding the pan handle.
Aim the instrument in the desired direction and retighten the
locking knob to hold the tripod head in place. If you are trying
to follow a moving object, you may not want to retighten the
clamp completely.
To move the tripod head horizontally, loosen the horizontal
locking knob underneath the pan handle. This will allow you
to rotate the tripod head 360 degrees. Point the instrument
in the desired direction and retighten the knob to hold the
position. Again, if you are trying to follow a moving object,
leave the knob slightly loose.
© 2013 Celestron • All rights reserved. • www.celestron.com
2835 Columbia Street • Torrance, CA 90503 U.S.A.
Telephone: 1(800) 421-9649 • Printed in China 2013
This product is designed and intended for use by those 14 years of age and older. Product design and specifications are subject to change without prior notification.
2
I
ENGLISH
instrument to the tripod. If the instrument you are mounting
does not have a hole for this peg, it will push down into the
tripod head.
Pull the plate lock lever back again, and replace the quick
release plate with the instrument back on the tripod head.
Slide the front of the plate in first, and then pivot the back in.
Once the quick release plate is properly positioned, push the
plate lock lever until it touches the under side of the tripod
head, securing the plate in place.
The tripod legs have two extension tubes that allow you to
vary the height at which the tripod stands. To extend the legs,
release the leg clamps and pull the legs out, away from the
tripod head. Once extended, retighten the clamps to hold the
legs in place. Repeat this process with all three legs until they
are extended to the desired height. (Note: The lower the tripod
is to the ground, the greater its rigidity and sturdiness.)
To retract the legs, release the leg clamps and slide the legs
back toward the tripod head.
When the legs are fully extended, the tripod can be raised
further using an extension mechanism in the center column.
To raise the column, loosen the center column extension lock
located next to the bubble level. Turn the extension crank
clockwise to raise the tripod head. Once the tripod reaches
the desired height, retighten the extension lock. To lower the
tripod head, loosen the extension lock WHILE holding the pan
handle. Turn the crank and retighten once fully lowered.
(Note: Failure to hold the handle while loosening the lock will cause the tripod head to fall
quickly, possibly damaging the tripod or the instrument on it.)
