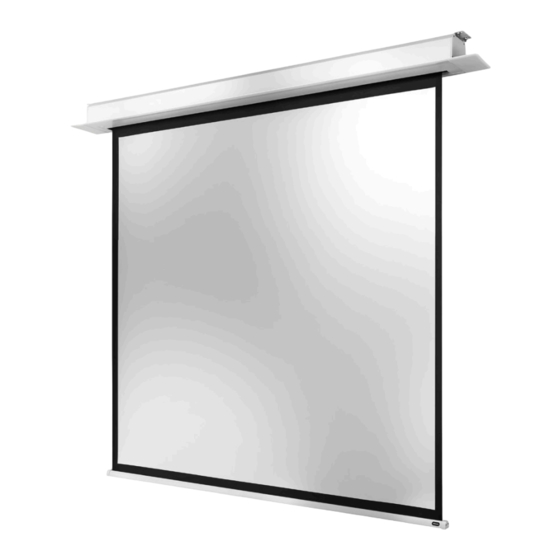
Celexon Ceiling Recessed Electric Professional Plus Manuale di istruzioni per l'uso - Pagina 10
Sfoglia online o scarica il pdf Manuale di istruzioni per l'uso per Schermo di proiezione Celexon Ceiling Recessed Electric Professional Plus. Celexon Ceiling Recessed Electric Professional Plus 13.

Finally, attach the inspection covers (B) to the side of the screen housing. To
remove them, pull the covers down and away from the housing.
OPERATION
CONTROL VIA THE CABLE SWITCH
STEP 1: SAFETY CHECK
Insert the plug into the socket (ensure correct voltage). The cable must not
be laid on hot surfaces or stretched. When using an extension make sure it
has the correct specification. The wall control box must be mounted with the
cable outlet on the underside. The cable switch can be replaced by an infrared
or radio control set from celexon. These must be connected by qualified elec-
tricians.
STEP 2: EXTEND THE SCREEN (FIG. 2)
Slide the switch down. The screen ex-
tends and stops automatically at the
set end point.
Make sure that no objects or persons
obstruct the extension of the screen.
9
