Celexon Expert Manuale di installazione - Pagina 2
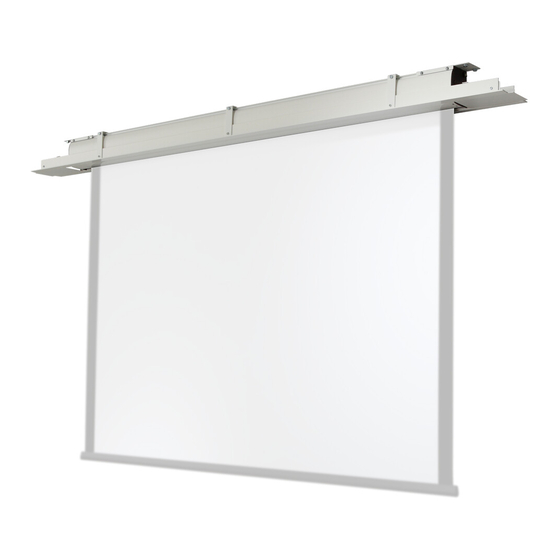
Sfoglia online o scarica il pdf Manuale di installazione per Accessori per proiettori Celexon Expert. Celexon Expert 2. Electric ceiling recessed projection screen
Anche per Celexon Expert: Manuale di installazione (2 pagine), Manuale di istruzioni per l'uso (9 pagine), Manuale di istruzioni per l'uso (20 pagine)

Installation
Install the screen so that it is central for most viewers. When fully extended,
please ensure that the lower third is about eye level. The screen can be wall or
ceiling mounted (You may be required to purchase screws and wall plugs
suitable for your specific building material, use Ø ca.5x35mm screws).
Ceiling installation
Mark out two parallel lines with the appropriate hole spacing of the mounting
brackets on the ceiling. Ensure that they are aligned and drill the holes. Screw the
mounting brackets to the ceiling (see fig 1). Then hang the screen on the brackets
(see fig 5) and tighten the safety screw underneath the screen (see fig 6).
Fig 1: Mounting brackets attached to
ceiling
Wall installation
Mark out two parallel lines with the appropriate hole spacing of the mounting
brackets on the wall. Ensure that they are aligned and drill the holes. Screw the
mounting brackets to the wall (fig 3). Next, hang the screen on the brackets (see fig
5) and tighten the safety screw underneath the screen (see fig 6).
Fig 2: Side view of ceiling installation
1
Fig 3: Mounting brackets attached
Fig 4: Mounting
to wall
bracket
Fig 6: Safety screw
Operating instructions
To lower the screen:
Pull the fabric down to the desired position using
the handle on the weighted bar (fig 1). Wait for
about 3 seconds and slowly release the handle
until the screen has stopped. The screen can be
stopped approx. every 10cm.
To retract the screen:
Pull the fabric down, approx. 3-5cm to disengage
the locking mechanism (fig 2) and pause for a
second. Once the locking mechanism has been
disengaged, the screen will pull back automatically
into its housing (slow-return-mechanism).
Fig 5: Side view of screen
attaching to mounting
bracket
2
