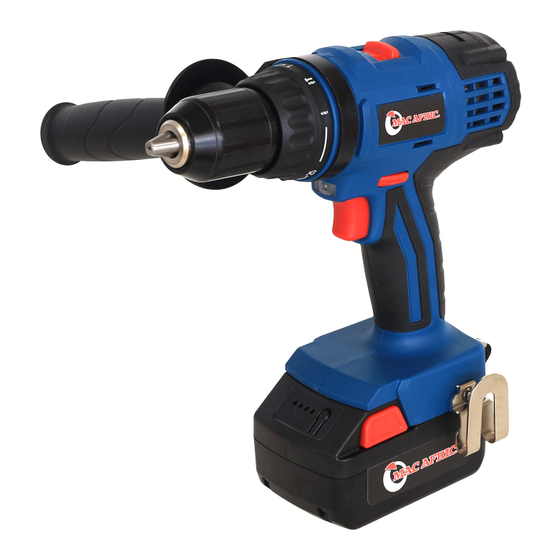
ADENDORFF MAC AFRIC SDRILC-005 Istruzioni per l'uso originali - Pagina 9
Sfoglia online o scarica il pdf Istruzioni per l'uso originali per Cacciavite elettrico ADENDORFF MAC AFRIC SDRILC-005. ADENDORFF MAC AFRIC SDRILC-005 14. Cordless brushless driver/hammer drill

Work Light
The white LED work light will be lit after
pulling the switch trigger for illumination of
the work area under unfavorable lighting
conditions.
(Fig. 11)
If battery is running out, the white LED will
flicker about once a second; if the machine is
overheated, the white LED will flicker about
twice a second.
Torque Setting
CAUTION:
Do not use the tool when the ring is set
between the graduation and number "25",
or the tool will be damaged.
The fastening torque can be adjusted in 27
steps by turning the presetting ring so that its
graduations are aligned with the pointer on
the tool body. The fastening torque is
minimum when the number 1 is aligned with
the pointer; when
is aligned with the pointer, the tool can be used as electric drill; when
is aligned with the pointer, the tool can be used as impact drill. The clutch will slip at
various torque levels when set at the number 1 to 25. The clutch will not slip if the
graduation is aligned with the pointer. (Fig 12)
Drilling Action
CAUTION:
Pressing excessively on the tool will not speed up the drilling. In fact, this excessive
pressure will only serve to damage the tip of your bit, decrease the tool performance
and shorten the service life of the tool.
There is a tremendous force exerted on the tool/bit at the time of break- through. Hold
the tool firmly and exert care when the bit begins to break through the work piece.
A stuck bit can be removed simply by setting the reversing switch to reverse rotation
in order to back out. However, the tool may back out abruptly if you do not hold it
firmly.
Always secure small workpieces in a vise or similar hold down device.
Position the speed change lever to the "1" side to drill the hole whose diameter is
larger than 10mm.
Drilling in wood
To drill in wood, align the graduation
the pointer and the best results are obtained
with wood drills equipped with a guide screw.
The guide screw makes drilling easier by
pulling the bit into the work piece. (Fig.13)
Drilling in metal
When starting a hole in metal, make an indentation with a center-punch to prevent the bit
from slipping and hammer at the point to be drilled. Place the point of the bit in the
indentation and start drilling.
Drilling in concrete, granite, tile or similar materials
When drilling in concrete, granite, tile or similar materials, align
start impact drilling, force the bit on the work piece and press the switch trigger.
Continuous Use
If the tool is operated continuously until the battery cartridge has discharged, allow the
tool to rest for 15minutes before proceeding with a fresh battery.
with
with the pointer. To
