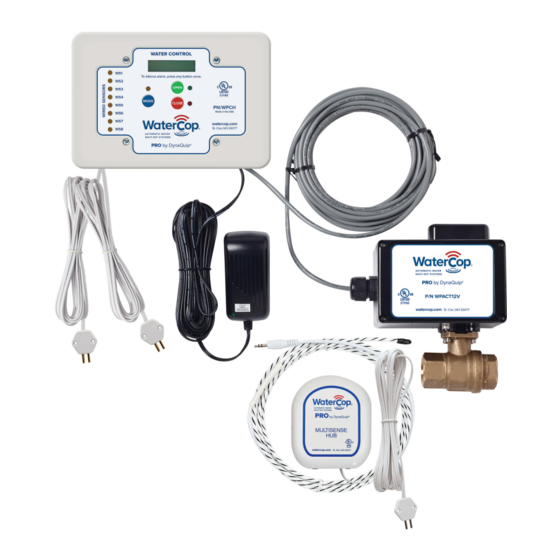
DynaQuip WaterCop WPM Manuale d'uso e manuale d'installazione - Pagina 13
Sfoglia online o scarica il pdf Manuale d'uso e manuale d'installazione per Sistemi di controllo DynaQuip WaterCop WPM. DynaQuip WaterCop WPM 16.

battery condition to the Control Panel . In the event the battery power reaches a critically low
status, a CLOSE signal will be transmitted to the WaterCop® valve as a precaution . After replacing
batteries, re-test each unit in its regular location . Periodic testing of sensors is required to monitor
proper power and function .
Installation Procedure: Indoor vs. Outdoor
Selection of WaterCop® Pro Valve Installation Sites
The WaterCop®-ready Ball Valve should be installed in the main water line just downstream from
the main shut-off valve in your home . The manual override handle/position indicator should be
easily accessible . The installed WaterCop® Pro Actuator is completely supported by the piping in
your plumbing system . The Actuator should NOT be used as a step or to support heavy loads .
The shut-off valve must be installed:
•
in the main water line;
•
in place of or just downstream from the main water shut-off valve;
•
where it is accessible;
•
where the case is protected from use as a step or from other excessive loads;
•
where it does not interfere with fire suppression systems .
Local electrical and plumbing codes should be consulted to ensure that the
installation is in complete compliance. (See Installation section for details.)
Review the Location and Type of Main Supply Line
The main supply line should enter the house in either the
basement or a crawl space beneath the first floor . The water
main shut-off valve is usually located near where the line comes
through the basement wall or just after the water line enters the
living area from the crawl space . In apartments, townhouses, and
manufactured housing constructions, the water main shut-off
valve can usually be found in close proximity to the water heater
installation . The WaterCop® Valve should be installed in the main
water line just downstream from the main shut-off valve in your
home . The water supply must be shut off prior to the installation of
the WaterCop® Valve .
NOTICE!
downstream of a water meter, if water meter is inside
the premises.
The Water Control Panel should be placed in a convenient indoor
location to view the valve position (open/closed) and be accessible
for resetting after a leak has been detected and corrected .
Additional Parts Requirements
Installation of WaterCop® Pro will require
additional parts. When the main supply line
is cut to accommodate the WaterCop® Valve,
new fittings will be needed to connect the
ends of the piping to the WaterCop® Valve .
The type of connecting fittings to use will be
determined by the type of existing piping,
local plumbing codes, and industry
standard practices .
Installation must be a minimum of 18 inches
CAUTION!
High heat from soldering or brazing can damage
valve seats or motor housing. Proper precautions
should be taken to prevent damage from heat
when installing the unit. Remove plastic housing
before soldering valve in place.
13
