Autool CT-200 Manuale d'uso - Pagina 5
Sfoglia online o scarica il pdf Manuale d'uso per Apparecchiature per la pulizia Autool CT-200. Autool CT-200 14. Injector cleaner & tester
Anche per Autool CT-200: Manuale (18 pagine), Manuale d'uso (14 pagine)

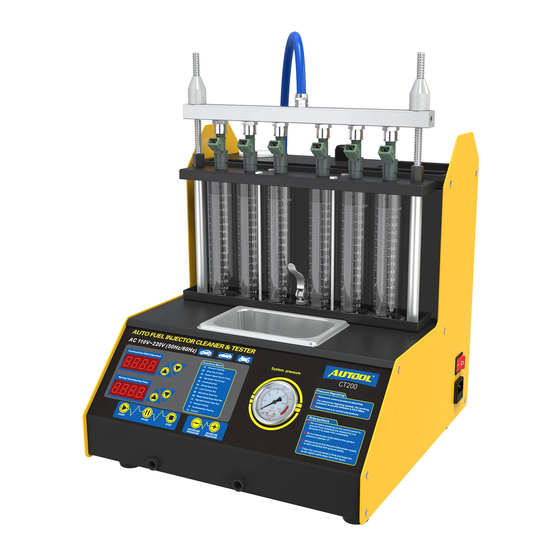
Figure.02
1-LED screen; 2-Start; 3-Arrow key; 4-PAUSE; 5-Arrow
key; 6-STOP; 7-Pressure down; 8-Pressure up;
9-Pressure Meter
Operating Procedures
Preparation
Remove the injector from the vehicle and carefully check
the rubber seal of the injector for damage. If it is
damaged, replace the same type of seal before the
cleaning test, in order to avoid leakage during the test.
Put the nozzle into gasoline or detergent, carefully
remove the external oil and wipe it with a soft cloth.
Check and add the test solution. Fill the fuel tank from
the fuel filler port on the side of the main unit and
observe the liquid level pipe on the side. Generally, 1/2
capacity of the tank is enough.
Press the power switch and backlight switch on the right
side of the main unit.
Add an appropriate amount of cleaning liquid or special
ultrasonic cleaning liquid to the ultrasonic cleaning tank,
and dip the nozzle needle valve.
Select the corresponding injector connection coupler.
7
Note: This equipment requires a special test solution and
cleaning agent. The test solution is used by the host during
uniformity detection/atomization observation, sealing test,
fuel
injection
quantity
detection
detection. The main engine uses gasoline plus cleaning
agent during the cleaning. The ultrasonic cleaner uses a
special ultrasonic cleaner.
Cleaning and Testing Sequence
Generally complete cleaning test procedure is recommended
in the following order.
Ultrasonic cleaning;
Uniformity/Sprayability test;
Leakage test;
Injecting flow test;
Automatic test.
According to different test items, select the corresponding
parameters in the parameter selection field and set them.
For details, please refer to the " Operation Procedure
Description".
After Operation
After the cleaning and testing work is finished, it should be
cleaned up, including:
Press the control panel drain button to return the test
fluid to the tank.
Turn off the power switch and unplug the power cord.
and
automatic
cleaning
8
