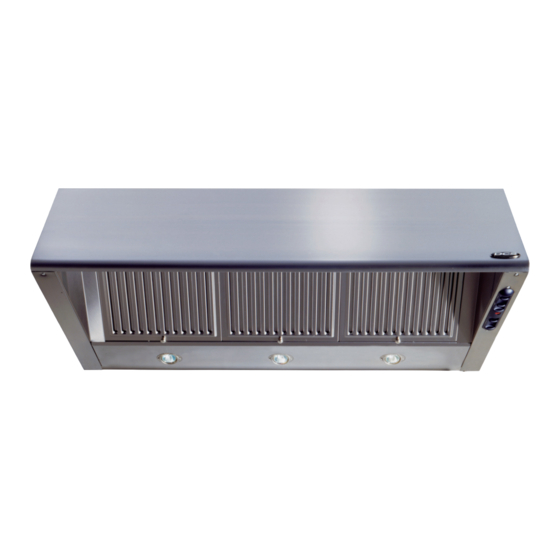
DCS EH-36SS Manuale d'uso e d'installazione - Pagina 10
Sfoglia online o scarica il pdf Manuale d'uso e d'installazione per Cappa di ventilazione DCS EH-36SS. DCS EH-36SS 18. The professional euro vent hood
Anche per DCS EH-36SS: Manuale d'uso e manutenzione (11 pagine), Manuale d'uso e manutenzione (7 pagine), Manuale di installazione (14 pagine), Manuale di installazione (16 pagine)

Installation Inst ructions
CALCULATE THE DUCT RUN LENGTH
The duct run should not exceed 35 feet if ducted six inch (6") round ductwork. Calculate the length
of the ductwork by adding the equivalent feet in fig. 06 for each piece of duct in the system an example
is given in fig. 07. For best results, use no more than three 90
minimum of 24" of straight duct between elbows if more than one is used. Do not install two
elbows together.
45° Elbow =
90° Elbow =
90° Flat Elbow
Wall Cap
WARNING: Personal injury hazard due to the weight and size of the euro hood canopy, two or
more people are needed to move and safely install the euro hood canopy. Failure to
properly lift euro hood could result in damage to the product or personal injury.
WALL PREPARATION
WARNING: The screws provided for mounting this euro hood must be inserted into solid wood. These
must not be inserted into sheet rock.
1) Disconnect and move freestanding range from cabinet opening to provide easier access to upper
cabinet and rear wall. Put a thick, protective covering over cooktop, set-in range or countertop to
protect from damage or dirt.
2) Determine and clearly mark with a pencil the centerline on the wall where the euro hood will be
installed.
3) The euro hood attaches to the wall by mounting screws. For the 30" and 36" models, there are two
mounting screws. Install the screws into the wall. The screws should be inserted into the wall
until the screw head is flush with the wall.
4) The optional chimney kit is adjustable and designed to meet varying ceiling heights. The chimney
attaches to the wall by two additional brackets. The top bracket should be installed about 1/8"
away from the ceiling. The middle bracket must be installed at the bottom point of the upper
chimney sleeve. Determine the proper location for each bracket and install the brackets on the
wall. Attach the bottom of the lower chimney to the canopy using the screws provided.
CAUTION: Make sure that the screws and brackets are securely fastened to the wall.
9 Feet Straight Duct
5.0 feet
2 - 90° Elbows =
7.0 feet
Wall Cap
12.0 feet
Total System =
0.0 feet
0
elbows. Make sure that there is a
9.0 feet
14.0 feet
0.0 feet
23.0 feet
