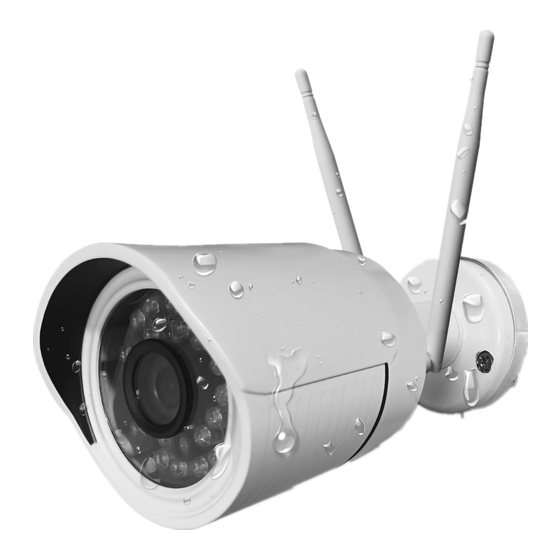
hikam A7 Manuale rapido per la configurazione iniziale - Pagina 4
Sfoglia online o scarica il pdf Manuale rapido per la configurazione iniziale per Telecamera IP hikam A7. hikam A7 10. Smart home wireless ip-kamera
Anche per hikam A7: Manuale di avvio rapido (6 pagine)

Setup Mode 2: Set up using an Ethernet Cable
HiKam A7 can be set up and operated using an Ethernet cable. You can switch from LAN to WLAN at any time after the
camera finishes setup.
- Connect the camera to the router using an Ethernet cable. Make sure the router is connected to the internet and DHCP is
enabled.
- Log in the app and wait for a few seconds. If the camera is detected automatically
pictures 11 and 12; otherwise, follow steps depicted in pictures 8 through 12. The device ID is on the underside of the
camera. The ID should be recorded and kept for further use
Picture 7
- You will be asked to name the camera and enter the initial password 123
- You will then be asked to enter a new password
successful operation will be notified by "Modify successfully" in the app.
- Optionally, you can now switch from LAN to WLAN by following these steps: My Camera -> Settings -> Network
Settings -> Choose WLAN in the WiFi List -> Confirm -> Enter WLAN password
- Wait for 1 minute, refresh the WiFi List by going back and re-entering the menu, the green CHECK behind the WiFi
indicates a successful switch from LAN to WLAN.
Picture 13
Picture 14
- You can now follow the live video stream on your smartphone.
Now A7 can be mounted to any desired places. For mounting instruction please read pages 3&4.
Watch video instructions, search FAQs, get troubleshooting support, get PC Client software and submit support
To get support from a customer service expert tutorials, email [email protected]. Guarantee feedback
Picture 8
Picture 9
Picture 15
request at http://supportus.hi-kam.com.
within 24hrs, often within 4hrs.
.
(see picture 10)
Picture 10
. New password should consist of 6-30 characters. A
(see picture 12)
(see picture 18)
Picture 16
Need help?
, follow steps depicted in
(see picture 7)
Picture 11
(see picture 11).
(see pictures 13 through 17).
Picture 17
Picture 12
Picture 18
