Gama Sonic GS-105P Manuale di istruzioni - Pagina 4
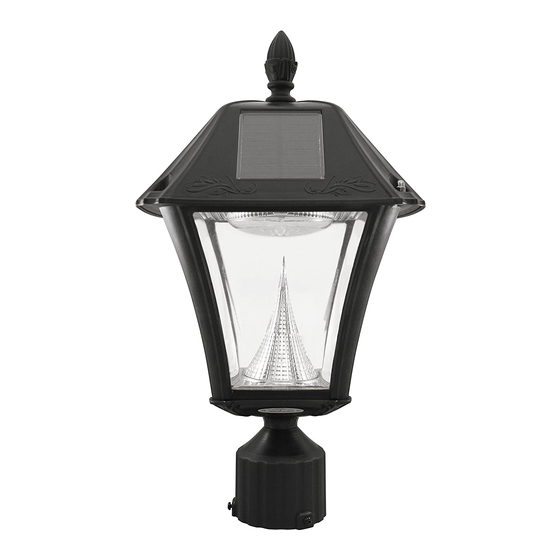
Sfoglia online o scarica il pdf Manuale di istruzioni per Lanterna Gama Sonic GS-105P. Gama Sonic GS-105P 7. Baytown ii solar lamp
3. Assembly Instructions:
GS-105F:
Note: If you are replacing an existing gas/electric post light, you must consult a certified
technician to disconnect them before installation.
1.
Attach the fixture (D) to the base (H) with the four supplied
screws, as shown (Fig.1).
GS-105P
Note: There are specific types of screws for specific surfaces. If you're unsure of the
appropriate type of screw to use on your desired surface, please consult a professional.
1. Use a drill to make two holes in the desired surface.
2. Place the screw anchors into the holes and place the
lamp in line with the holes and secure it with the
provided screws.
3. Detach Part (H) from Part (E)
4. Attach the base (H) to the pier mount (G) with the
(Fig.2).
5.
Attach the fixture (D) to the base (H) with the four
supplied screws, as shown in (Fig.3).
GS-105W
Note: Installing the light on a wall may limit the solar panel for sun exposure.
Make sure the lamp is mounted so direct sun exposure is available.
1. Use a drill to make two holes in the desired surface.
2. Place the screw anchors into the holes and place the lamp in line with the
holes and secure it with the provided screws.
3. Detach Part (H) from Part (E)
4. Attach the base (H) to the
5. Attach the fixture (D) to the base (H) with the four supplied screws, as shown
in
(Fig.5).
H
F
Fig.4
wall bracket (F)
with the
H
Fig.5
H
nut
G
Fig.2
nut
(Fig.4).
D
D
H
E
Fig.1
D
H
Fig.3
4