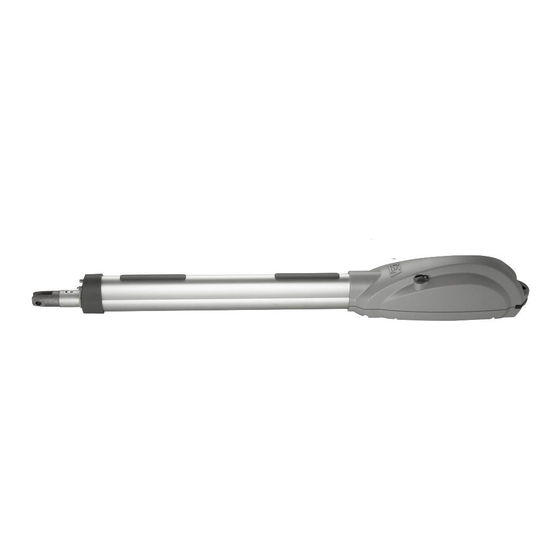
Dea LOOK 373EN/SC Istruzioni per l'uso e avvertenze - Pagina 6
Sfoglia online o scarica il pdf Istruzioni per l'uso e avvertenze per Apriporta Dea LOOK 373EN/SC. Dea LOOK 373EN/SC 20. Electro-mechanical operator for swing gates

4.3 How to unlock the operator
WARNING Disconnect the power supply from the control panel before releasing the operator. In case you cannot turn the power
off, you will necessarily have to re-lock the motor in the position in which it was unlocked.
• Turn the cap placed on the back of LOOK in order to discover the underlying shaped hole;
• Insert the release key inside the shaped hole paying attention to the direction of insertion (Pic. 8.a);
• Rotate 90 degrees (counterclockwise to unlock, clockwise to lock ) the release key (Pic. 8.b).
WARNING Remember to protect the lock with the respective cover so that the operator is protected by water or powder (even when it
remains unlocked for a long time).
WARNING During this operation gate may perform uncontrolled movements: operate with extra care so to avoid any risk.
4.4 Adjustment of the limit-switches
After the installing, limit switches must be adjusted (only for models that foresee them) as follows (Pic. 9):
WARNING When adjusting the limit switches, take away the little cover of the extrusion using a screwdriver and check the correct
internal microswitches are moving (Pic. 10).
• Unscrew the A fixing nuts so to operate on C and D screws
• Adjust opening and closing limit switches
• Screw the A fixing screws by keeping C and D blocked by a screwdriver so to maintain the adjustments.
WARNING While closing the inspection cover, use silicone to seal the leak (Pic. 11).
5 ELECTRICAL CONNECTIONS
WARNING For adequate electrical safety, keep low safety voltage wires (controls, electro-locks, antenna, auxiliary power) clearly separate
from 230V ~ power wires (minimum 4 mm in air or 1 mm via supplementary insulation) placing them in plastic raceways and securing
them with adequate clamps near terminal boards.
WARNING All wires must be striped and unsheathed in the immediate vicinity of terminals. Keep wires slightly longer to subsequently
eliminate any excess.
WARNING To connect the encoder to the control panel, use only a dedicated cable 3x0,22mm
Connection for 24V and 230V
• Remove the plastic cover positioned under LOOK (Pic. 12).
• Open one of four shaped holes and choose where the cable exit
has to be (Pic. 13).
• Introduce the cable clamp and fix it by its nut (Pic. 14).
• Insert the power supply cable into the clamp (coming from the
control panel): A quadrupole cable suitable for external appli-
cations with a 4x1mm² section (or 3x1mm² for 24V operators)
(minimum FROR, H05RN-F type) (Pic. 15).
Connection for 24V and 230V with limit switches
• For the operator power supply connection follow the instruc-
tions of the basic version.
• Open a second hole in the plastic cover and apply the second
provided cable clamp (a reduced M16).
• Use a 3x0,75mm² cable (not supplied) for a correct limit
switches wiring to the control panel.
10
.
2
24V
4(brown)
FCA
5(blue)
COM
6(blue)
FCC
7(brown)
2(blue)
CLOSE
OPEN
1(red)
230V
4(brown)
FCA
5(blue)
COM
6(blue)
FCC
7(brown)
1(white)
CLOSE
2(blue)
COM
3(black)
OPEN
FCA
N.C.
N.C.
FCC
M
FCA
N.C.
N.C.
FCC
M
