JADO 818/712 Series Istruzioni per l'installazione - Pagina 3
Sfoglia online o scarica il pdf Istruzioni per l'installazione per Prodotto idraulico JADO 818/712 Series. JADO 818/712 Series 4. 3/4" thermostatic mixing valve trim kit
2
TRIM INSTALLATION
Push CAP (1) over the O-RING SEAL (2).
Push ESCUTCHEON (3) over CAP (1) and secure
with SCREWS (4).
Slide COVER PLATE (5) onto CAP (1) flush against ESCUTCHEON (3).
3
HANDLE INSTALLATION
Remove TEMPERATURE CONTROL KNOB (1) from
HANDLE BASE (4) by loosening SET SCREW with
HEX WRENCH (5).
Push TEMPERATURE-CONTROL KNOB (1) onto KNOB
MOUNT (2). Attach TEMPERATURE-CONTROL KNOB
(1) to valve with ATTACHMENT SCREW (3). Push
HANDLE BASE (4) onto TEMPERATURE-CONTROL
KNOB (1). Tighten set screw with HEX WRENCH (5)
to secure HANDLE BASE (4).
For 818 Series Cross Handle: Align Pin on CROSS HANDLE (6) with hole in
HANDLE BASE (4). Tighten SCREW (7). Insert INDEX (8) into CROSS HANDLE (6).
For 888 Series Cross Handle: Align Pin on CROSS HANDLE (9) with hole in
HANDLE BASE (4). Tighten SET SCREW with HEX WRENCH (10) supplied.
4
TRANSPOSED SUPPLY PIPING
Should the hot and cold water supply pipes have been
transposed making adjustment impossible, proceed as
follows:
Shut off water supply.
Remove handle and rim
Remove check stops and re-install them transposed.
Important note: RED CHECK STOP is now on the right of the
mixer body and the BLUE CHECK STOP is now on the left.
Turn the water supply back on and perform the temperature
adjustment in step 1.
5
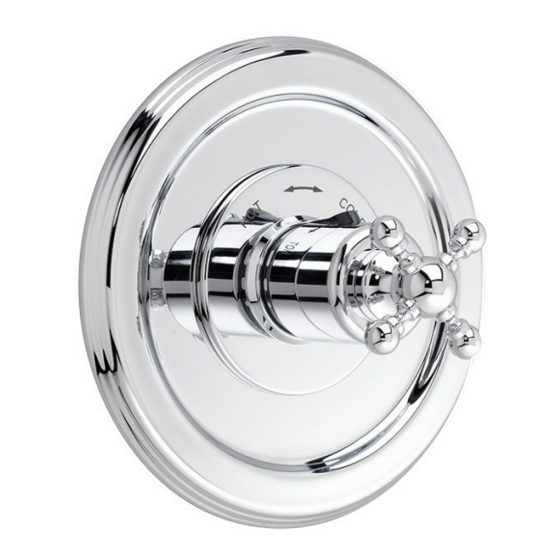
OPERATING THE VALVE
If a temperature over 100°F is desired, push the STOP
BUTTON (1) down and turn the TEMPERATURE KNOB (2).
This will increase the mixed water temperature up to the
maximum limit previously selected in step 1.
1
2
2
1
CHECK STOP
(RED TO BLUE)
3
4
3
4
6
7 8
9
5
10
PIN
CHECK STOP
(BLUE TO RED)
1
2
H 9 6 5 2 1 6 C
5