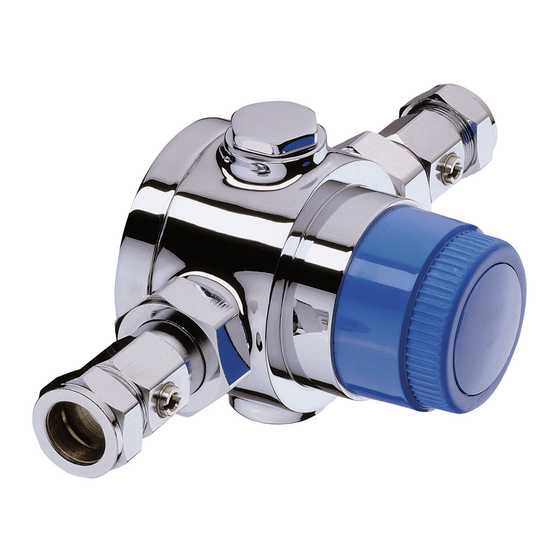
Bristan TS4753ECP Istruzioni per l'installazione e manuale d'uso - Pagina 7
Sfoglia online o scarica il pdf Istruzioni per l'installazione e manuale d'uso per Unità di controllo Bristan TS4753ECP. Bristan TS4753ECP 8. Thermostatic mixing valve

Maintenance
Servicing the Valve
This valve should at least be serviced
with a frequency as set out in the TMV
manual guidelines to comply with the
scheme. It may need more frequent
servicing if sited in a hard water area to
ensure optimum performance.
Please see the TMV manual supplied
with this valve for more details.
To service the valve, follow
the steps below:
1. Turn both isolating lugs to shut-off
the water supplies. (Fig 3). Remove
the valve from the wall.
2. Remove the filters from the isolating
lugs and rinse of any debris.
3. Remove the knob insert. Undo and
remove the retaining screw. Remove
the control knob, ring and sleeve to
expose the head assembly.
4. Remove the head assembly from the
body using a 29mm A/F spanner.
Remove the bottom cap and
piston assembly together with the
thermostat and return spring.
Note: The piston can be dis-
assembled further but this is not
necessary for cleaning/servicing.
5. Remove O-rings and check for
damage, replace parts if necessary.
Soak all metal components in a
suitable solution until fully de-scaled.
Grease O-rings using a WRAS
Approved grease.
Need help? Give us a call on 0330 026 6273 and speak to one of our trained advisors.
Re-Assembly
1. Replace piston ensuring ease of
movement when in place. This should
move with light finger pressure.
2. Replace spring and bottom cap.
Screw in gently, DO NOT use
excessive force.
3. Unscrew the bottom cap by 1 1/4
turns to give correct gap.
4. Re-assemble the head assembly
ensuring the adjusting screw is
screwed back fully.
5. Fit the thermostat into the head
assembly. Fit the head assembly into
the valve body.
6. Re-fit the sleeve and control knob,
secure with the retaining screw.
7. Fit the valve back onto the wall,
ensuring the filters are in place.
8. Complete the commissioning and
temperature adjustment steps to
re-calibrate the valve.,
7
