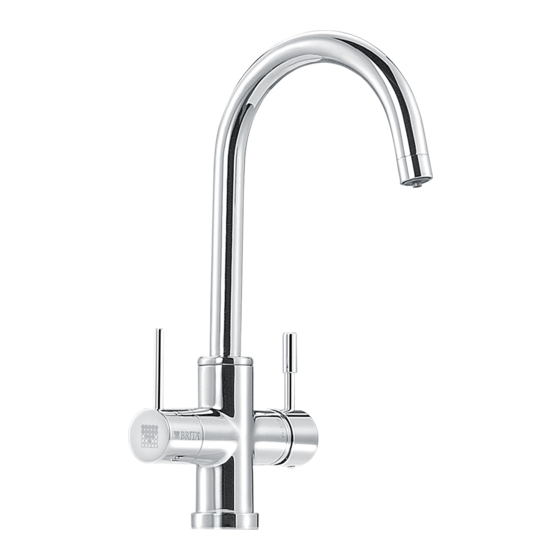
Brita WD 3020 Manuale di istruzioni per l'uso - Pagina 8
Sfoglia online o scarica il pdf Manuale di istruzioni per l'uso per Dispenser Brita WD 3020. Brita WD 3020 17.

A First of all, unmount your existing kitchen tap.
a) Turn off the cold and hot water supplies
b) Please make sure you release any pressure by opening all
levers.
!
No water should run through the existing kitchen tap.
c) Unscrew the existing hoses from the cold and hot water
s upply.
We recommend placing a suitable container under the water
!
supply as there will be water left in the hoses which will run
down when you unscrew them.
d) Unscrew your kitchen tap – there is no standard mounting but
in general a pipe wrench will help you to unmount it.
e) Pull out both your kitchen tap and the hoses.
B You're now ready to install the BRITA Dispenser.
First of all, screw the shank (4) into the BRITA Dispenser (1).
Screw the hoses into the dispenser (see fig. 8).
Screw the M8 connector of the hose with the blue stripe into the
hole C .
Screw the M8 connector of the hose with the red stripe into the
hole H.
Screw the M8 connector of the 800 mm hose into the hole B.
WD 3020/ W D 3030/ W D 3040 and WD 3050
C
B
H
(fig. 8)
!
Ensure the connections are screwed tight, but avoid over
tightening!
Then put the base or O-Ring (3) over the hole and fix the BRITA
Dispenser (1) in place using the supplied joint (5), the flat gasket (6),
flange (7) and the hex nut (8).
8
ENGLISH
3.4
Step 4: Attaching the hoses
!
We recommend that you arrange all the parts you need in
front of you before you begin.
For wall mounting (optional), you will need: two screws (e.g. 5 mm
thread diameter) and, if required, two wall plugs suitable for your
type of wall.
Please follow the diagram below (see fig. 9) and perform the steps
in the right order.
A C onnect supplied T-piece on your cold water supply
a) I nsert one 3/8" gasket into the female nut of the supplied T-piece.
b) Connect this end of the T-piece to your cold water supply.
If you do have an additional free 3/8" cold water supply for
the BRITA Dispenser in your kitchen, you do not need to
install the supplied T-piece!
!
If your cold water supply does not fit the 3/8" connector
of the T-piece, use the supplied adapter if required. Please
insert the 1/2" gasket into the female nut of the adapter first.
Your Water Filter Kit comes with two 1/2" adapters. Please
go to your nearest supplier for adapters in other sizes.
B Connect the hose with the blue stripe to one side of the T-piece.
C Take the hose with two 3/8" connectors. Insert the 3/8" gaskets
into the respective female threads of the two hose ends.
C onnect one end with the free side of the T-Piece.
D Now connect the other end to the filter head inlet. This is labelled
"IN" (inlet) and marked with an arrow. Make sure that the gas-
kets are seated correctly!
E Connect the 800 mm hose which is connected with the dis-
penser with the outlet of the filter head labelled with an "OUT"
arrow. Make sure that also here the gaskets are seated c orrectly!
F Connect the hose with the red stripe with your hot water supply.
If your hot water supply does not fit the 3/8" connector, use the
supplied adapter if required. Please insert the 1/2" gasket into
the female nut of the adapter first.
G Make sure all connections are tightened properly. Avoid over
tightening.
