GB
NUTID ELECTRONIC TIMER INSTRUCTIONS
Electronic timer
1
2
3
4
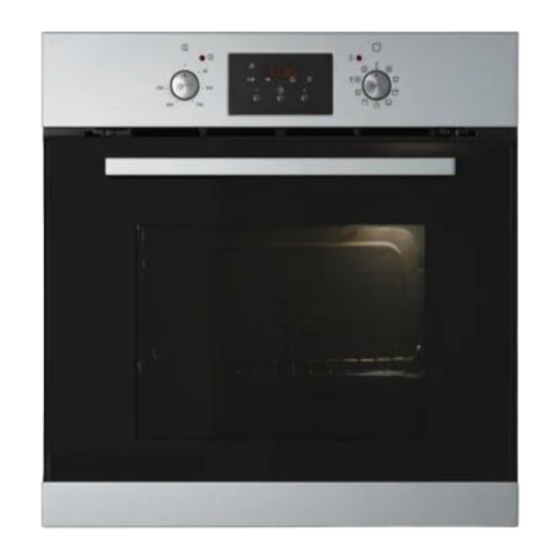
Display
Function selector knob
Programming button: ("set")
Confirm button ("ok")
Time values modification buttons ("-" "+")
Oven thermostat knob
Oven activation
When the oven is connected to the power supply for the first time, or after a power failure, the display indicates "
Clock selection and modification:
1. Press the "set" button. The time flashes on the display.
2. Press the "-" or "+" button to set the hour.
3. Press the "set" button and "-" or "+" to set the minutes.
4. Press the "ok" button to confirm.
To modify the time:
Keep the "ok" button pressed for 3 seconds, until the time flashes on the display. Repeat the steps described above.
Cooking function selection
1. Turn the knob
to the required function.
2. Turn the knob
to select the temperature, or the power level in the Grill and Turbogrill functions. To confirm the
temperature or predefined power level, go to point 3.
For the "Defrost" function, go straight to point 3.
3. Press the "ok" button to confirm; the oven switches on. The indicator near
4. The indicator
goes off when the oven temperature reaches the selected temperature.
To modify the temperature:
1. Turn the knob
and select the required temperature again.
NB:
To cancel any selection made, turn the knob
to " ". Otherwise, press the "set" button to switch the oven off, maintaining
the previously selected functions.
Cooking duration selection
Select the cooking duration (available with all the functions except the special functions) to switch the oven on for a specific
period of time. At the end of this time the oven will switch off automatically. The maximum programmable cooking duration is
6 hours.
1. Set the function and the temperature (see the section: "Cooking function selection") up to point 2 without confirming with
the "ok" button.
2. Press the "set" button (the indicator
on the display lights up next to the cooking duration symbol
select the required cooking duration with the "-" or "+" buttons.
3. Press the "ok" button to confirm the selection; the oven switches on and the display will show the remaining cooking
duration.
4. To modify the previously set temperature, turn the knob
To return to the remaining cooking duration, wait 5 seconds.
5
lights up.
) and, within 8 min.,
.
appears on the display:
At the end of the previously set time,
The oven will switch off automatically.
The cooking duration can be modified with the "-" or "+" buttons. Return to point 3 of the section "Cooking duration
selection".
1. Turn the knob
to " ".
The time of day reappears on the display.
End of cooking time selection
Use this function to preset the end of cooking time. The maximum programmable time is 23 hours and 59 minutes.
1. Proceed as described in points 1 and 2 of the section "Cooking duration selection".
2. Press the "set" button to set the end of cooking time: the indicator
3. Set the end of cooking time with the "-" or "+" buttons.
12:00
".
4. Press the "ok" button to confirm the end of cooking time.
The oven will switch on automatically at the end of cooking time minus the cooking duration: the indicators on the display
above the symbols
light up in succession.
Special Functions
Turn the knob
to the function
Pizza
Function at a constant temperature of 250°C suitable for baking pizzas.
1. Turn the knob
until the message "P1" appears on the display, followed after 2 seconds by the predefined temperature
of 250°C.
2. Press the "ok" button to confirm.
3. The indicator at
on the control panel goes off when the temperature of 250°C is reached, a factory-set time of
12 minutes flashes on the display and a buzzer sounds.
4. Place food in the oven.
5. The preset time can be modified with the "+" "-" buttons.
6. Press the "ok" button to confirm.
7. At the end of the set time, the oven automatically switches off,
Food warmer
This keeps the oven at a constant temperature of 60°C.
1. Turn the knob
until the message "P2" appears on the display, followed after 2 seconds by the predefined temperature
of 60°C.
2. Press the "ok" button to confirm.
3. The indicator at
on the control panel goes off when the temperature of 60°C is reached, a factory-set time of 10 minutes
flashes on the display and a buzzer sounds.
4. Place food in the oven.
5. The preset time can be modified with the "+" or "-" buttons.
6. Press the "ok" button to confirm.
7. At the end of the set time, the oven automatically switches off,
appears on the display and a buzzer sounds.
lights up next to the symbol
will light up near the symbol
.
:
appears on the display and a buzzer sounds.
appears on the display and a buzzer sounds.
.

