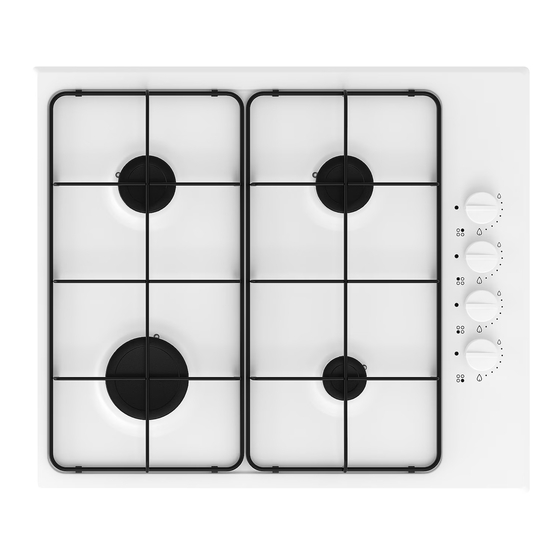
IKEA Lagan HGA4K Manuale di istruzioni - Pagina 16
Sfoglia online o scarica il pdf Manuale di istruzioni per Piano cottura IKEA Lagan HGA4K. IKEA Lagan HGA4K 24. Ikea hobs instruction manual
Anche per IKEA Lagan HGA4K: Manuale d'uso (16 pagine), Manuale di istruzioni (24 pagine), Manuale d'uso (28 pagine), Manuale di istruzioni (20 pagine), Manuale di istruzioni (16 pagine)

ENGLISH
Before activating the appliance, make sure
the electrical supply voltage is the same as
that indicated on the rating plate. The
rating plate is located on the bottom of the
appliance.
The appliance is supplied with a 3 core
flexible supply cord requiring a 3 amp plug.
You must obtain and install the plug. The
wires in the mains lead are coloured in
accordance with the following code:
Green and yellow - Earth
Blue - Neutral
Brown - Live
1. Connect the green and yellow (earth)
wire to the terminal in the plug which is
marked with the letter 'E' or the earth
symbol
, or coloured green and
yellow.
2. Connect the blue (neutral) wire to the
terminal in the plug which is marked
with the letter 'N' or coloured black.
3. Connect the brown (live) wire to the
terminal in the plug which is marked
with the letter 'L' or coloured red.
There must be no cut or stray strands of
wire present. The cord clamp must be
correctly attached on the outer sheath.
Warning! Make sure that the cut
off plug is disposed of safely. A
cut off plug put into a 13 amp
socket is a safety hazard. There
is a risk of electrical shock.
The replacement of the electrical
cable must be done by a
qualified electrician or
competent person, according to
the current regulations.
Replacement of the connection cable
Warning! The replacement of the
connection cable requires the
specific equipment of a
technician.
In this case, only cable type H05V2V2-F
T90 must be used. The cable section must
be suitable to the voltage and the working
temperature. The yellow/green earth wire
must be approximately 2 cm longer than
2
the brown (or black) phase wire
(previous figure).
Gas setting conversion
This model is designed for use
with natural gas but can be
converted for use with butane or
propane gas providing the
correct injectors. The injectors not
supplied with the appliance have
to be ordered from After Sales
Service (refer to the Service
chapter).
For data concerning injector replacement,
refer to the chapter Technical data.
Warning! Conversion or
replacement can only be
performed by a registered
installer.
To replace injectors:
1. Remove pan support.
2. Remove burner cap and crown.
3. With a socket spanner 7 unscrew and
remove the injectors, replace them with
the ones required for the type of gas in
use.
4. Reassemble the parts, following the
same procedure backwards.
16
1
