Green Power GPAC2515H Manuale d'uso - Pagina 15
Sfoglia online o scarica il pdf Manuale d'uso per Compressore d'aria Green Power GPAC2515H. Green Power GPAC2515H 17.
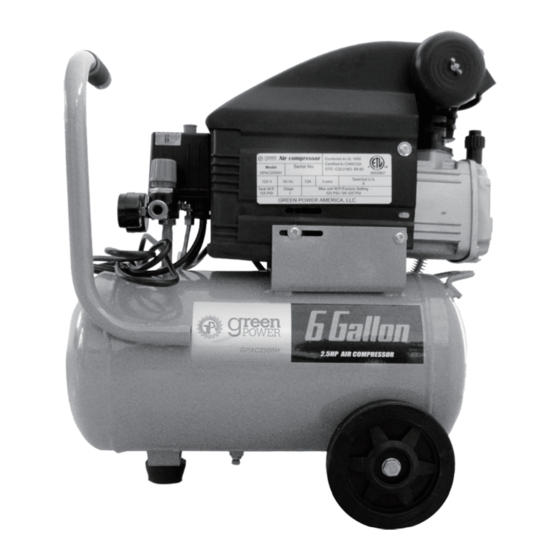
Air Compressor
29
Owner's Manual
Trouble Shooting
Problem
Possible Causes
Compressor does
1. Tank(s) already pressurized.
not start or restart
2. Power cord not plugged in properly.
3. Incorrect power supply.
4. No power at outlet.
5. Thermal overload switch tripped.
6. Building power supply circuit tripped or
blown fuse.
7. Cord wire size is too small or cord is too
long to properly power compressor.
8. Compressor needs service.
Compressor builds
1. Incorrect power supply.
pressure too slowly
2. Working environment too cold.
3. Safety valve leaking.
4. Loose fittings.
Compressor not
1. Air filters need cleaning/replacing.
building enough
air pressure
2. Check Valve needs service.
3. Compressor not large enough for job.
4. Loose fittings.
5. Hose or hose connections too narrow.
6. High altitude reducing air output.
Overheating
1. Unusually dusty environment.
2. Extension cord used.
3. Unit not on level surface.
Compressor
1. Loose fittings.
starts and stops
excessively
2. Compressor not large enough for job.
Excessive noise
1. Loose fittings.
2. Unit not on level surface.
Moisture in
Too much moisture in air.
discharge air
Safety Valve "pops"
Safety valve needs service.
Air leaks from
Loose fittings.
pump or fittings
Follow all safety precautions whenever diagnosing or servicing the compressor.
Disconnect power supply before service.
Likely Solutions
1. No problem. Compressor will start when needed.
2. Check that cord is plugged in securely.
3. Check that circuit matches compressor requirements.
4. Reset circuit breaker, or have outlet
serviced by a qualified technician.
5. Turn off Compressor and wait for it to cool down.
Press reset button. Resume operation.
6. Reset circuit or replace fuse. Check for low voltage
conditions. It may be necessary to disconnect
other electrical appliances from the circuit or
move the compressor to its own circuit.
7. Use larger diameter or shorter extension cord or
eliminate extension cord. See Recommended Wire
Gauge for Extension Cords in Safety section.
8. Have unit inspected by a qualified technician.
1. Check that circuit matches compressor requirements.
2. Move compressor to a warmer location.
Check that recommended oil is in crankcase.
3. Listen for air leaking from valve.
If leaking, replace with identical valve with same rating.
DO NOT SEAL OR TAMPER WITH SAFETY VALVE.
4. Reduce air pressure, then check all fittings with
a soap solution for air leaks and tighten as needed.
Do not overtighten.
1. Check inlet and outlet filters.
Clean and/or replace as needed.
2. Have technician clean or replace, as needed.
3. Check if accessory CFM is met by Compressor.
If Compressor cannot supply enough air flow (CFM),
you need a larger Compressor.
4. Reduce air pressure, then check all fittings with
a soap solution for air leaks and tighten as needed.
Do not overtighten.
5. Replace with wider hose and/or hose connections.
6. Higher altitudes require compressors with greater output.
1. Clean and/or replace filters more often or
move unit to cleaner environment.
2. Eliminate extension cord.
3. Reposition unit on a level surface.
1. Reduce air pressure, then check all fittings with a soap
solution for air leaks and tighten as needed.
Do not overtighten.
2. Check if accessory CFM is met by Compressor.
If Compressor doesn't reach accessory
CFM, you need a larger Compressor.
1. Reduce air pressure, then check all fittings with a soap
solution for air leaks and tighten as needed.
Do not overtighten.
2. Reposition unit on a level surface.
Install inline air filter/dryer, and/or relocate
to less humid environment.
Pull on test ring of safety valve. If it still pops, replace.
Reduce air pressure, then check all fittings with a soap
solution for air leaks and tighten as needed.
Do not overtighten.
30