HIKVISION DS-2CE79U8T-IT3Z Manuale d'uso - Pagina 11
Sfoglia online o scarica il pdf Manuale d'uso per DVR HIKVISION DS-2CE79U8T-IT3Z. HIKVISION DS-2CE79U8T-IT3Z 16. Turbo hd 4k series vf bullet & turret & dome camera
Anche per HIKVISION DS-2CE79U8T-IT3Z: Manuale di avvio rapido (17 pagine)
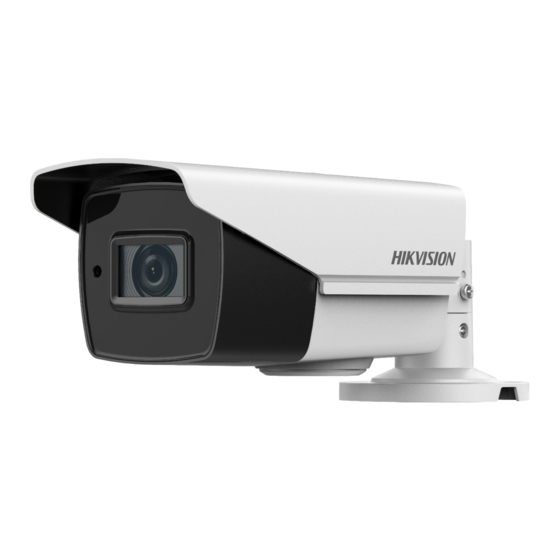
Figure 2-18 Fix the camera to the Ceiling
7. Connect the corresponding cables, such as power
cord, and video cable.
8. Power on the camera to check whether the image
on the monitor is gotten from the optimum angle. If
not, adjust the camera according to the figure below
to get an optimum angle.
9. Fit the black liner back to the camera and tighten
the screws on the bubble of the dome camera to
finish the installation.
2.3.2 Wall Mounting
Before you start:
You need to purchase a wall mount first.
Steps:
1. Drill four screw holes in the wall according to the
holes of the bracket.
2. Attach the mount to the wall by aligning the four
screw holes of the mount with expansion screws on
the wall.
3. Secure the mount with four hex nuts and washers.
Figure 2-20 Install Wall Mounting Bracket
4. Refer to step 3 of 2.3.1Ceiling Mounting to remove
dome camera's bubble and the black liner.
5. Attach the back box of the dome camera to the wall
mount, and secure them with supplied screws.
Figure 2-19 3-Axis Adjustment