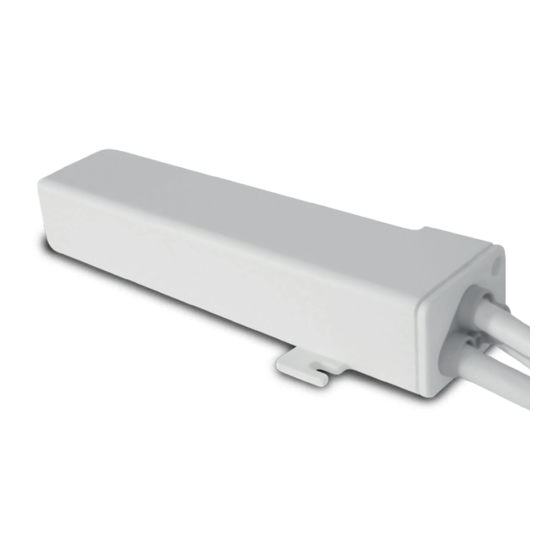
GAPOSA QCX09 Manuale - Pagina 5
Sfoglia online o scarica il pdf Manuale per Unità di controllo GAPOSA QCX09. GAPOSA QCX09 12. Radio control unit for shutters and awnings
Anche per GAPOSA QCX09: Manuale (12 pagine)

1
2
3
4
1
2
1
2
Prog-TX (4)
Option 1
1
2
Prog-TX (4)
Prog-TX (4)
UP (1)
the motor lifts the rolling shade/awning up
STOP (2)
the rolling shade/awning stops
DOWN (3)
the rolling shade/awning goes down
Prog-TX (4)
program the transmitter
3
3
DELETING A TRANSMITTER OR A CHANNEL
Using the transmitter to be deleted press and hold both Prog-TX and STOP buttons till the
motor makes a small jog
Only the transmitter used for this procedure has been deleted from motor memory
RESET TRANSMITTER MEMORY
Option 2
(DELETING ALL THE TRANSMITTERS OR CHANNELS
OR SENSORS)
Option 1 - Using a programmed transmitter
Press and hold both Prog-TX and STOP buttons for at least 15 seconds:
OFF
as confirmation feedbacks the motor makes first a brief jog and after 5
ON
seconds an additional long jog
Memory is now empty
Option 2 - Using a new transmitter without ID (not paired).
1 Switch the motor power supply OFF. Then switch it ON.
2 Within 8 seconds, using any Gaposa transmitter, press and hold both
Memory is now empty
CONNECT POWER TO THE MOTOR
ON
PROGRAMMING A TRANSMITTER
Press and hold PROG-TX button on the back of
1
transmitter till the motor starts moving
Check the motor rotation then release PROG-TX
2
button (the motor stops)
3
Within 5 seconds, press the corresponding button
(UP if the motor turns upwards or DOWN if the
motor turns downwards)
Transmitter is now programmed
ADDING A NEW TRANSMITTER
Press and hold PROG-TX button on the back of the
1
transmitter already paired till the motor starts
moving in one direction
Release PROG-TX button (the motor stops)
2
3
Within 5 seconds, press the corresponding button
on the new transmitter being added
Additional transmitter is now added
CHECKING / CHANGING DIRECTION
Press UP or DOWN the motor goes UP or DOWN
1
accordingly, otherwise to change direction of
operation:
Press and hold PROG-TX button on the back of
2
transmitter till the motor starts moving
Press STOP: The motor makes a brief jog. Direction
3
of the motor has been reversed
IMPORTANT: the change of direction of operation
must be performed before initiating limit setting
procedure otherwise limits must be reset
Prog-TX and STOP buttons until the motor makes a long jog
