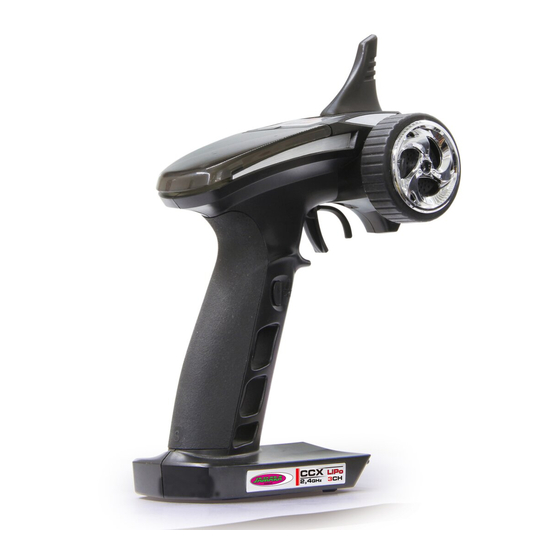
Jamara CCX Lipo Istruzioni - Pagina 4
Sfoglia online o scarica il pdf Istruzioni per Trasmettitore Jamara CCX Lipo. Jamara CCX Lipo 8. Transmitter
Anche per Jamara CCX Lipo: Istruzioni (8 pagine), Istruzioni (8 pagine), Manuale di istruzioni (12 pagine)

ES - Para encender el transmisor y el receptor
En la moderna emisora de 2.4 GHz es necesario que el emisor y el receptor estén conectados por el
módulo. La emisora sólo aceptará la señal su estación. Si por alguna razón usted tiene que repetir
la nueva conexión, haga los siguientes pasos:
A. Coloque la batería cargada en la emisora o pilas nuevas. Deje la emisora desenchufada.
B. Coloque el cable de conexión de los tres canales.
C. Encender la emisora, mientras haces el bindingde la batería con el receptor. Depende de la
versión del software, señala su receptor varios modo de binding (en vez de parpadear, la LED
brilla o esta apagado). El binding es siempre lo mismo en todas las versiones. La LED en el
receptor impieza a parpadear y indica que el receptor no esta en el modo binding.
D. Pulse el botón de encendido de la estación y, al mismo tiempo cambiar el canal.
E. La emisora impieza a parpadear y indica que estas en el modo binding.
F. Quitar el dedo el botón de encendido de la emisora y retirardel enchufe del receptor.
G. Interruptor del transmisor. y retire el cable de unión. El sistema de atado en el siguiente arranque.
H. Cuando haga la instalación, tratar de hacer todo correctamente. Si no hay éxito en el
procedimiento, vuelva hacerlo todo otra vez.
I. Si la función no tiene éxito, repita el procedimiento de vinculación.
La siguiente ilustración representa gráficamente el proceso de las unidades, la identificación y la
articulación de los elementos individuales que deben ser operados..
ES - Fail Safe
La programación de FailSafe.
1. Desprición de la función
El entegrado FailSafe se debe principalmente para el uso de barcos y vehículos. Se utiliza para
evitar lo daño. Si el receptor pierde la señal del transmisor, o devuelve el control de la velocidad del
servo del canal de gas de forma automática a la posición predeterminada.
2. Ajuste
a.
Acienda la emisora
b.
Acienda el receptor. La siñal LED parpadea continuamente, lo que indi ca que el receptor está
listo.
c.
Mover la palanca del acelerador en la emisora en el freno o la toma su posición de los Servos
o regulador de velocidad. Sujete la palanca del acelerador a esta posición.
d.
Pulse el botón de configuración en el receptor. La señal LED parpadea durante 3 segundos
( ver a la izquierda).
e.
Se guarda la confi guración y se puede poner el acelerador en la posición neutra.
3. Test la confi guración
a.
Acienda la emisora.
b.
Acienda el receptor.
c.
Desconecte la emisora.
d.
El receptor se pierde la señal y impulsa el Servo por ejemplo:
el variador de velocidad en el canal de acelerador a la posición previamente programada.
e.
Siga los pasos anteriores, la función FailSafe funcionará correctamente
4
GB - Binding the receiber to the transmitte
As with all modern 2.4GHz R/C systems the receiver must be bound to the transmitter to ensure that
the receiver will only react to signals from that transmitter. If you wish to re-bind the receiver with the
transmitter please proceed as follows:
A. Ensure that the transmitter is fitted with fully charged batterie and leave the transmitter off.
B. Plug the binding plug (included) into the channel 3 socket on the receiver.
C. Switch the receiver system on by connecting the battery or turn in a BEC operating on a controller
D. Press and hold down the binding button on the transmitter whilst switching it on.
E. The transmitter will begin to fl ash indicating that the receiver is in bonding mode.
F. Release the binding button on the transmitter and disconnect the receiver from the battery or turn
G. Switch of the transmitter. and remove the binding wire. The system be bound at the next start ..
H. Install all properly and check anything very precisely.
I. If the receiver fails to bond or does not function after bonding repeat the above procedure until a
The following diagrams illustrate the bonding process and show the locations of the relevant com-
ponents.
Botón de encendido
Binding button
Fail Save
LED
GB - Fail Safe
Programming of the integrated FailSafe unit.
1. Function Description
The function of protection of losing control is mainly for r/c boats and cars and keeps them away from
damage through throttle channel. When the receiver is out of control signal, the receiver of throttle
will automatically return to the initial position which set up before starting to avoid the error action.
2. Setting
a. Turn on the transmitter
b. Turn on the receiver. The signal LED will light continuously and indicates that the receiver is
c. Move the throttle lever on the transmitter in the braking or outlet position. Hold the throttle lever
d. Press the Setup button on the receiver. The signal LED flashes for 3 seconds (see left).
e. The setting is saved and you can bring back the throttle into neutral position.
3. Testing the settings
a. Turn on the transmitter.
b. Turn on the receiver.
c. Turn off the transmitter.
d. The receiver will now lose the signal and drives the servo or the speed control on the gas channel
e. If these steps work, you have set the FailSafe.
to control. The receiver LED will begin to flash indicating that the receiver is in bonding mode.
off the controller. Release the binding plug from the receiver.
successful bonding is achieved.
Conexión de enchufe
Binding Plug
ready.
in this position.
to the previously programmed position.
