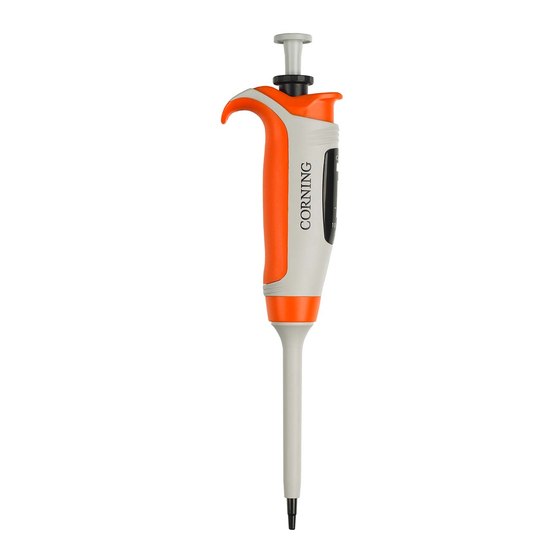
CORNING Lambda EliteTouch Manuale di istruzioni - Pagina 12
Sfoglia online o scarica il pdf Manuale di istruzioni per Apparecchiature di laboratorio CORNING Lambda EliteTouch. CORNING Lambda EliteTouch 17. Single-channel, 8-channel, and 12-channel pipettors

Sterilization
Sterilization in an autoclave
The pipettor can be sterilized in an autoclave at 121°C for
20 minutes. Sterilization under other conditions may cause
damage to the pipettor. It is recommended to:
• Unscrew the shaft nut slightly prior to sterilization and
re-tighten after autoclaving.
• Set the locking ring in upper (unlocked) position prior
to sterilization.
• Sterilize the pipettors in autoclave with an initial vacuum
and drying cycle.
• After sterilization, the pipettor should be dried and cooled
to room temperature.
The precision of the results should not alter if the pipetting
process and autoclaving are carried out as described in this
manual. Because a slight change in the accuracy of the
dosage may occur, it is recommended to:
• Check the calibration of the pipettor after the initial first,
third, and fifth autoclaving cycles and then after every
10 autoclaving cycles.
Ultra Violet (UV) Sterilization
The pipettors are UV resistant. However, the recommended
distance from the radiation source to the exposed element
should be not less than 50 cm. Prolonged and very intense
UV exposure can cause discoloration of pipettor parts
without effecting their performance.
11. Troubleshooting
If you notice an improper pipettor operation, identify
the cause and eliminate the fault. Follow the instructions
in the sequence provided. Replacement of parts should
be required only occasionally and should not occur under
normal pipettor use.
Problem
Cause
The pipet tip is emptied
too fast.
Droplets of
liquid remain
in the pipet
The pipet tip wettability
tip.
has increased due to
extensive use.
20 – Corning Lambda EliteTouch Pipettors
Solution
Decrease the speed
of pressing the
pipettor pushbutton.
Replace the tip with
a new one.
Problem
Cause
The pipet tip immersion
is too shallow.
Droplets
of air appear
The pipet tip is incorrectly
in the liquid
pressed onto the pipettor
aspirated
shaft.
into the pipet
tip.
The tip is damaged or worn
out due to extensive use.
The pipettor tip is
incorrectly pressed onto
the pipettor shaft.
The shaft surface is
damaged or contaminated
at the sealing site.
The pipettor
The plunger or the seal is
incorrectly
damaged due to prolonged
aspirates
aspiration of aggressive
the liquid
liquids.
or the liquid
drops out
The inside of the pipettor is
from the tip.
contaminated.
No lubrication on the
sealing elements.
The inside of the pipettor
is contaminated due to
aspiration of aggressive
substances.
Uneven
work of the
The inside of the pipettor
pipetting set,
is contaminated due to the
the pipetting
liquid entering the pipettor.
pushbutton
gets blocked.
No lubrication on the
sealing elements,
e.g. after repeated
autoclaving procedures.
Solution
Immerse the tip
deeper according to
the instructions.
Press the pipettor
firmly.
Replace the tip with
a new one.
Press the pipet tip
firmly.
Clean the shaft or
replace it with a new
one.
Disassemble the
shaft set; wash the
shaft, the plunger and
the seal (Section 10:
Cleaning). Replace the
elements with new
ones if necessary.
Apply a small amount
of lubricant onto
the plunger and
reassemble the set
in the correct order.
Unscrew the shaft
set, wash the parts.
Replace the elements
with new ones if
necessary. Apply
a small amount
of lubricant on
the plunger and
reassemble the set
in the correct order.
INSTRUCTION MANUAL – 21
