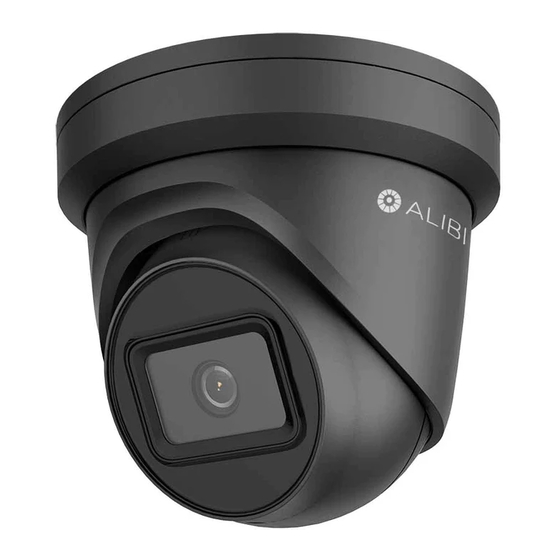
ALIBI ALI-NS2036R Manuale di installazione rapida - Pagina 5
Sfoglia online o scarica il pdf Manuale di installazione rapida per Telecamera IP ALIBI ALI-NS2036R. ALIBI ALI-NS2036R 9. 6mp starlight ip turret camera

Screen select tabs
Step 9.
Adjust camera pan, tilt and rotation
Adjust the camera pan, tilt and rotation to point the camera at your surveillance target. When pointing
the camera, use the Live View display on a recorder or in a remote login window.
1.
Loosen the fixing screw enough to move the camera turret module.
2.
To aim the camera at your surveillance target:
a.
Adjust the pan: grasp the turret and shroud assembly on the sides of the camera and turn.
Fixing screw
Rotation range:
0˚ ~ 360˚
Tilt range:
0˚ ~ 70˚
Pan range:
0˚ ~ 360˚
b.
Adjust the tilt: grasp the turret and tilt as needed for the image height.
c.
Adjust the rotation: grasp the turret and turn as needed to adjust the horizontal in the
image.
3.
Tighten the fixing screw to hold the turret in place.
4.
Reinstall the trim ring.
Step 10. Adjust the camera image for your surveillance target
Use the firmware menus to adjust the brightness, contrast, saturation and sharpness of the video image
if necessary. These settings are initially optimized at the factory and may not need adjustment. When
adjustments are necessary, the paths to the image settings menus are different if the camera is installed
as a device on a LAN, or if it is connected to a NVR. Select the installation type below for your camera to
complete this step.
For cameras installed on a LAN
1.
If necessary, log into the camera on the LAN with administrative credentials.
2.
After adjusting the camera for the a typical field of view, click the Setup tab, and then click the
Image link in the left frame.
5
www.observint.com
Live View image
Logout button
Capture, Record, Zoom icons
3.
Adjust the Brightness Contrast, Saturation and Sharpness of the image. Each parameter can be
set to a level of 0 ~ 100 either by moving the slider or entering the value in the box on the right.
The effect of the adjustment will appear in the Live View image in the menu.
Refer to the firmware user manual for your camera to use the other submenus on this screen.
For cameras connected directly to an NVR
1.
Log into the NVR with administrative privileges.
2.
Open the firmware Image menu. Depending on the recorder you use, the menu might be located
at: Menu | Camera | Display.
In the Camera field drop down list, select the camera you want to configure. In the example
3.
above, [D1]IPCamera 01 is selected.
Drag the Brightness, Contrast, Saturation and Hue adjustment markers left or right to
4.
perfect the image from the camera. For some adjustments, you can click the up ( 5 )or down
( 6 )icons near the adjustment value (on the right side) to incrementally change the value of
those adjustment.
Click Apply to save your settings for this camera.
5.
Refer to the firmware user manual for your NVR to use the other submenus on this screen.
NOTE
Cleaning: If cleaning is necessary, use clean cloth with a few drops of ethanol and wipe it gently.
Step 11. Smart Events setup
The camera can internally perform line crossing detection, intrusion detection, region entrance
detection, region exit detection, false alarm reduction by human and vehicle target classification based
on deep learning using the configuration you setup.
You can configure these features in either of two ways, depending on how the camera is connected to
the surveillance system:
If the camera is connected to the internal Ethernet switch of an NVR, you can configure the Smart
•
Event features through firmware in the NVR. Refer to the NVR firmware manual for procedures.
If the camera is attached directly to an Ethernet network (switch), you can log into the web
•
interface of the camera and configure these features through the camera's Configuration menus.
When H.265+, three streams or motion detection is enabled, the behavior analyses (including line
crossing detection, intrusion detection, region entrance detection and region exiting detection) are not
NOTE
supported.
© 2020 Observint Technologies. All rights reserved.
