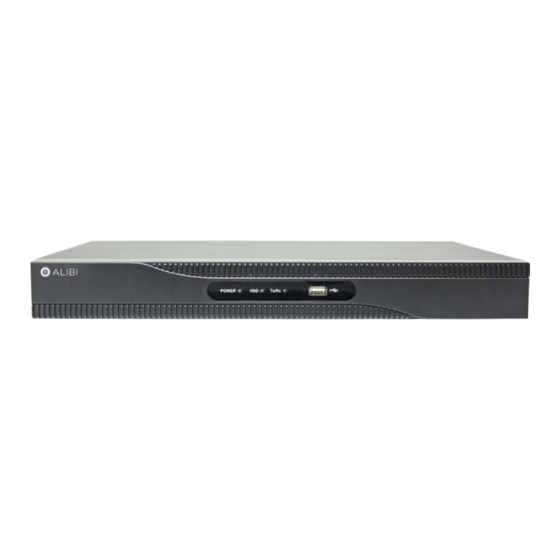
ALIBI ALI-NVR3308P Manuale di configurazione rapida - Pagina 6
Sfoglia online o scarica il pdf Manuale di configurazione rapida per Hardware di rete ALIBI ALI-NVR3308P. ALIBI ALI-NVR3308P 8. Embedded network video recorders

7.
While holding the HDD in place in the chassis, turn the chassis over, and then ensure that the mounting screws are fully seated in the
mounting screw slots as shown in the photo below. Tighten the HDD mounting screws until snug. Be careful to not over-tighten the
screws.
6
www.Observint.com
8.
Turn the chassis over, and then attach the HDD power cable and SATA cable to the mating connectors on the HDD and PC board. These
connectors must be fully seated.
9.
Reinstall the NVR cover using the cover using the screws removed earlier.
10.
During the NVR initialization, follow the options in the Wizard to initialize/reformat the HDD. You can also initialize the HDD using
the Menu | HDD feature. For more information, refer to the ALIBI Embedded Network Video Recorder Firmware V3.4.x User
Manual available for download from your vendor.
11.
Initialize (Init) the HDD when you setup the NVR using Wizard.
HDD Installation - ALI-NVR3308P and ALI-NVR3316P
The recorder will accommodate one or two internal HDDs. If your recorder doesn't have an HDD installed, use this procedure to install an HDD.
The HDD mounting screws and HDD cables are provided with your recorder.
Follow recommended electrostatic discharge (ESD) guidelines while performing this procedure. Install the HDD in a static-free
environment, wearing a certified ESD wrist strap. If a static free environment and ESD wrist strap is not available, touch the bare
metal of the NVR chassis frequently when installing the drive to dissipate the static charge naturally generated on your skin and
CAUTION
clothing and avoid touching electronic components.
1.
Disconnect all cables from the recorder, and then set the recorder on a clean, static free surface, top up.
2.
Remove the top cover from the recorder by removing the cover screws on the back of the chassis, and on each side. The screw
arrangement of your NVR may be different than that shown in the drawing below.
© 2017 Observint Technologies. All rights reserved.
