GARDEN MASTER GM2315 Manuale di istruzioni per il montaggio - Pagina 3
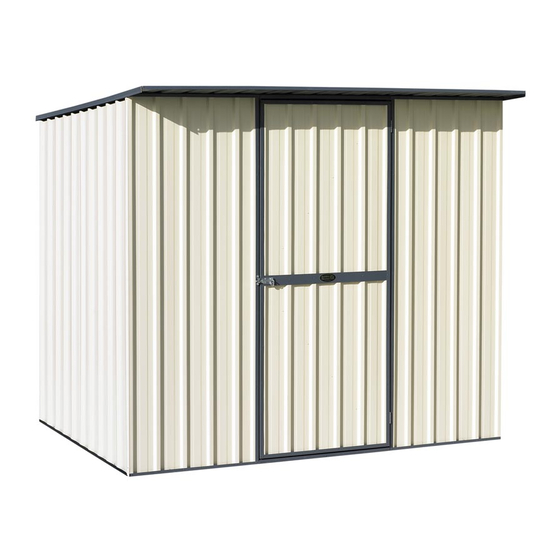
Sfoglia online o scarica il pdf Manuale di istruzioni per il montaggio per Deposito all'aperto GARDEN MASTER GM2315. GARDEN MASTER GM2315 8. Sloping roof shed
Anche per GARDEN MASTER GM2315: Manuale di istruzioni per il montaggio (8 pagine)
If you feel confident that you do not need to read through these instructions, see page 2.... January 2010
If you choose to vary from these instructions your warranty will be impaired.
Detailed instructions with diagrams:....
You will need:
(C) 740 wide sheet with door jamb
•
(D) Pre-hinged door and sheet
•
(F) 1 top and 1 bottom Channel
•
(H) 2 x Door spacers
•
TIP: To hinge the door on
the opposite side - simply put
the top channel on the bottom
and bottom on top.
Inside
Outside
Padbolt Keeper assembly
A. Layout Front wall sheets and pre-assembled door as you ordered
B. Use (H) door spacer to determine the correct opening size by placing on the bottom flange of the door jambs.
Then fit (F) channels to tops and bottoms of sheeting. And fix as follows.
B. Outside: Fix channel at corners and every 2nd rib between. Fix thru door jambs and door spacer
C. Inside: One fixing per sheet at each end up thru channel underside and thru door jambs/spacer
D. Fit padbolt to the outside of door.
Note: Higher side of channel goes to inside of shed. It is very important to include the fixings on the underside
of all channels as they are structural. (Except roof channels)
1 1 1 1 : Front Wall
Drawings are diagrammatic and
Note: The cutouts go to the inside of the panel to
allow easy fitment of end walls on assembly (Page 6)
(F) Channels with
cutouts (as shown).
Fix through top and bottom
of channels into Door jamb
& spacer
Spacer
Channel
Pg 3
are not necessarily to detail.
Channels will come
short of ends of
sheeting by 10 -
15mm on all panels
Door jamb on inside of channel