Jandy Jandy Pro Series Manuale di installazione - Pagina 11

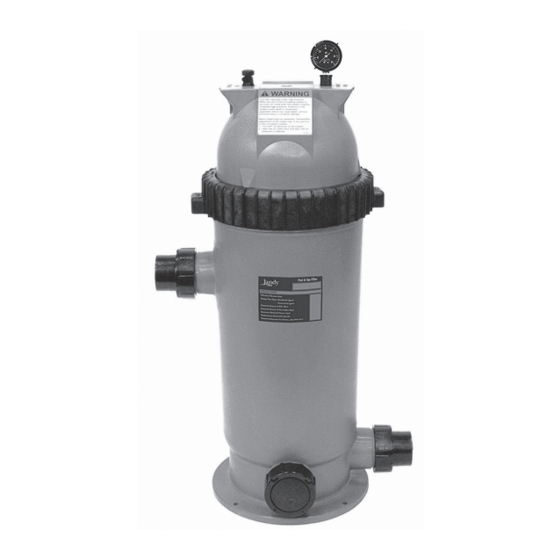
Sfoglia online o scarica il pdf Manuale di installazione per Filtro per piscina Jandy Jandy Pro Series. Jandy Jandy Pro Series 16. Single element cartridge pool & spa cs filters
Anche per Jandy Jandy Pro Series: Manuale d'uso (12 pagine), Manuale di installazione e funzionamento (20 pagine), Manuale d'uso (20 pagine), Manuale (8 pagine), Manuale di avvio rapido (2 pagine), Manuale di installazione e funzionamento (20 pagine), Istruzioni per l'installazione (2 pagine), Manuale di installazione e funzionamento (16 pagine), Manuale di installazione e funzionamento (16 pagine), Manuale di installazione e funzionamento (16 pagine)

Jandy Jandy Pro Series Manuale di installazione
Figure 6.
Removing the Jandy Pro series
WaterColors light Assembly for light
Engine Replacement
7. Plug in the quick disconnect wire (white
for the 12V and red for the 120V) onto the
terminal (AC1) of the light engine.
8. Plug in the quick disconnect wire (black for
the 12V and blue for the 120V) onto terminal
(AC2) of the light engine.
b. Large Light Engine (PCB) Replacement (120V
and 12V)
1. Remove three (3) nuts and washers.
2. Unplug the quick disconnect terminals from
the PCB.
3. Remove the light engine from the light
fixture.
4. Place new light engine into the fixture with
the orientation shown in Figure 8.
5
Secure the new light engine (PCB) with two
(2) nylon washers and two (2) nuts. Torque
to 12 in-lbs.
6. Plug in the white quick disconnect wire onto
the terminal (J2) of the light engine.
7. Plug in black quick disconnect wire onto
terminal (J6) of the light engine for the 12V
models; or terminal (J3) of the light engine
for 120V models.
Jandy
Pro Series, WaterColors LED Lights
®
POOL LIGHT
ASSEMBLY
Power
Niche
Cord
Bonding
cable
|
Installation Manual
POOL WALL
Unscrew pilot screw
and pull top of light
1
assembly away from
pool wall
Bonding
PILOT SCREW
2
Push up on
bottom of
light assembly
8a. For 12V models, place a nylon washer on the
stud and place the green ground wire terminal
on the nylon washer and secure both with the
nut. Torque to 12 in-lbs.
8b. For 120V models, place the green ground
wire on the stud and secure with the nut.
Torque to 12 in-lbs.
6.
Reassemble the fixture.
a. If not already done, remove the gasket from
the glass lens and install a new gasket, P/N
R0451101 for the large light and R0400501 for
the small light, on the lens. On the small light,
remove the diverger from the lens.
nOTE
A new lens gasket must be used each time the light is
reassembled.
Page 11
English
SPA LIGHT
ASSEMBLY
Power
Niche
Cord
cable
SPA WA
Uns
1
and
asse
spa
PIL
P
b
l