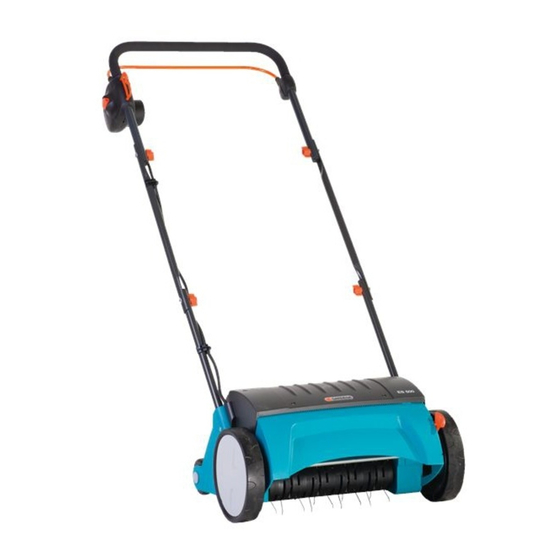
6. Maintenance
Cleaning Lawn Scarifier:
Adjusting for wear :
D
Blockage Protection : If the aerator cylinder is blocked, e.g.
by a foreign body, immediately release the starting lever. If the
blockage lasts longer than 10 seconds and the starting lever has
not been released, blockage protection is activated. In this case
immediately release the starting lever. The Lawn Scarifier can
be switched on again after cooling down for approx. 1 minute.
Danger of injury !
A
If blockage protection is activated and the starting
lever is not released, the Lawn Scarifier starts again
automatically after approx. 1 minute.
Danger ! The aerator cylinder can cause injuries !
A
V Prior to maintenance, unplug from the mains and
wait until the Scarifier drum has stopped.
V Wear working gloves for performing maintenance.
The Lawn Scarifier should be cleaned after each time it is used.
Risk of injury and physical damage !
A
V Do not clean Lawn Scarifier under running water
(particularly under high pressure).
V Do not use hard or pointed objects for cleaning
the Lawn Scarifier.
v Remove grass and deposits from wheels, aerator cylinder
and housing.
The Lawn Scarifier is subject to wear in use due to the way in
which it works. The more intensively the Lawn Scarifier is used,
the greater the wear on the spring tines.
Hard or very dry ground accelerates wear as does excessive use
of the Lawn Scarifier.
If the results of your work with the Lawn Scarifier become increas-
ingly worse due to wear of the spring tines, the aerator cylinder
can be adjusted twice.
The aerator cylinder has 4 adjustment positions :
• Transport position
• Aerating position 1 :
• Aerating position 2 :
If the springs are worn (the scarifier roller is lowered by 3 mm).
• Setting 3 :
Second setting for worn springs (the scarifier roller is lowered
by a further 3 mm).
Push wear compensation lever
and move to the position required.
Note : Wear adjustment is not used for height adjustment.
Adjustment of the aerator cylinder without visible wear can
cause damage to the aerator cylinder or overload the motor.
D
gently away from the housing
15