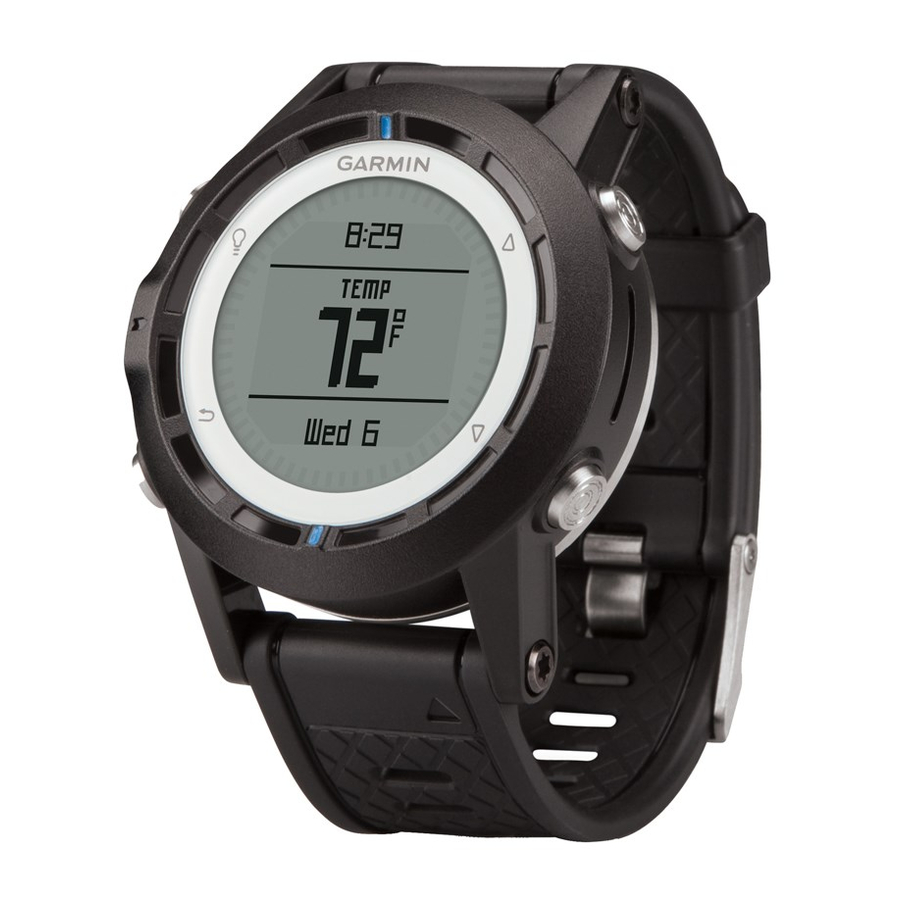
Garmin quatix Manuale d'uso - Pagina 7
Sfoglia online o scarica il pdf Manuale d'uso per Guarda Garmin quatix. Garmin quatix 22. Gps watch
Anche per Garmin quatix: Dichiarazione di conformità (6 pagine), Manuale di avvio rapido (6 pagine), Informazioni sul prodotto (44 pagine)

The two pointer marks
blue mark
points in the direction you are facing.
9
Align the pointer marks with the top blue mark.
10
Continue to travel in that direction until you reach the
destination.
Stopping Navigation
1
Select the blue key.
2
Select Stop Nav..
Waypoints
Waypoints are locations you record and store in the device.
Creating a Waypoint
You can save your current location as a waypoint.
1
Hold the blue key.
2
Select an option:
• To save the waypoint without changes, select Save.
• To make changes to the waypoint, select Edit, make
changes to the waypoint, and select Save.
Finding a Waypoint by Name
1
Select the blue key.
2
Select Waypoints > Spell Search.
3
Use the blue key,
, and
4
When finished, select _ > Done.
Navigating to a Waypoint
1
Select the blue key.
2
Select Start GPS.
3
Wait while the device locates satellites.
4
Select the blue key.
5
Select Waypoints, and select a waypoint from the list.
6
Select Go.
The device displays time to destination
destination
, and estimated time of arrival
7
Select
to view the compass page.
Navigation
serve as a bearing pointer. The top
to enter characters.
, distance to
.
The two pointer marks
blue mark
points in the direction you are facing.
8
Align the pointer marks with the top blue mark.
9
Continue to travel in that direction until you reach the
destination.
Editing a Waypoint
Before you can edit a waypoint, you must create a waypoint.
1
Select the blue key.
2
Select Waypoints.
3
Select a waypoint.
4
Select Edit.
5
Select an item to edit, such as the name.
6
Use the blue key,
, and
7
When finished, select _ > Done.
Increasing the Accuracy of a Waypoint Location
You can refine a waypoint location for more accuracy. When
averaging, the device takes several readings at the same
location and uses the average value to provide more accuracy.
1
Select the blue key.
2
Select Waypoints.
3
Select a waypoint.
4
Select Average.
5
Move to the waypoint location.
6
Select Start.
7
Follow the on-screen instructions.
8
When the confidence reaches 100%, select Save.
For best results, collect four to eight samples for the waypoint,
waiting at least 90 minutes between samples.
Projecting a Waypoint
You can create a new location by projecting the distance and
bearing from a marked location to a new location.
1
Select the blue key.
2
Select Waypoints.
3
Select a waypoint.
4
Select Project.
5
Follow the on-screen instructions.
The projected waypoint is saved with a default name.
Deleting a Waypoint
1
Select the blue key.
2
Select Waypoints.
3
Select a waypoint.
4
Select Delete > Yes.
Deleting All Waypoints
1
Select the blue key.
2
Select Setup > Reset > Waypoints > Yes.
serve as a bearing pointer. The top
to enter characters.
3
