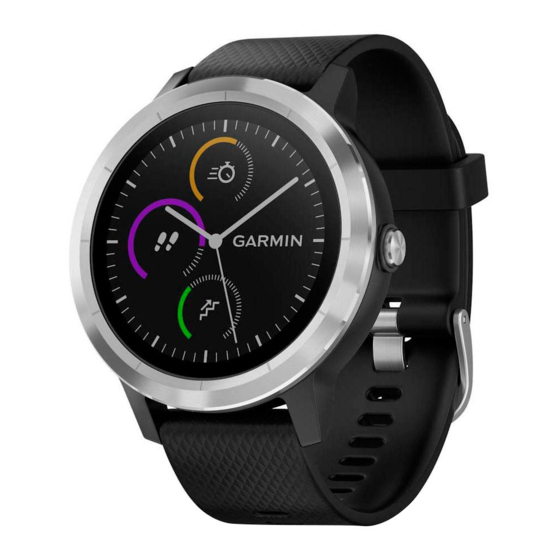
Garmin VIVOACTIVE 3 Manuale d'uso - Pagina 15
Sfoglia online o scarica il pdf Manuale d'uso per Guarda Garmin VIVOACTIVE 3. Garmin VIVOACTIVE 3 28.
Anche per Garmin VIVOACTIVE 3: Manuale di risoluzione dei problemi (7 pagine), Manuale di risoluzione dei problemi (5 pagine), Faq (9 pagine), Manuale d'uso (28 pagine)

2
Select History > Records.
3
Select a sport.
4
Select a record.
5
Select View Record.
Restoring a Personal Record
You can set each personal record back to the one previously
recorded.
1
Hold the touchscreen.
2
Select History > Records.
3
Select a sport.
4
Select a record to restore.
5
Select Previous > Yes.
NOTE: This does not delete any saved activities.
Clearing a Personal Record
1
Hold the touchscreen.
2
Select History > Records.
3
Select a sport.
4
Select a record to delete.
5
Select Clear Record > Yes.
NOTE: This does not delete any saved activities.
Clearing All Personal Records
1
Hold the touchscreen.
2
Select History > Records.
NOTE: This does not delete any saved activities.
3
Select a sport.
4
Select Clear All Records > Yes.
The records are deleted for that sport only.
Navigation
You can use the GPS navigation features on your device to
save locations, navigate to locations, and find your way home.
Marking Your Location
A location is a point that you record and store in the device. If
you want to remember landmarks or return to a certain spot, you
can mark a location.
1
Go to the place where you want to mark a location.
2
Press the key.
3
Select Navigation > Save Location.
TIP: To quickly mark a location, you can select
controls menu
(Using the Controls Menu, page
After the device acquires GPS signals, the location
information appears.
4
Select Save.
5
Select an icon.
Deleting a Location
1
Press the key.
2
Select Navigation > Saved Locations.
3
Select a location.
4
Select Delete > Yes.
Navigating to a Saved Location
Before you can navigate to a saved location, your device must
locate satellites.
1
Press the key.
2
Select Navigation > Saved Locations.
Navigation
3
Select a location, and select Go To.
4
Select an activity.
The compass appears.
5
Move forward.
The compass arrow points toward the saved location.
TIP: For more accurate navigation, orient the top of the
screen toward the direction in which you are moving.
6
Press the key to start the activity timer.
Navigating Back to Start
Before you can navigate back to start, you must locate satellites,
start the timer, and start your activity.
At any time during your activity, you can return to your starting
location. For example, if you are running in a new city, and you
are unsure how to get back to the trail head or hotel, you can
navigate back to your starting location. This feature is not
available for all activities.
1
Hold the touchscreen.
2
Select Navigation > Back to Start.
The compass appears.
3
Move forward.
The compass arrow points toward your starting point.
TIP: For more accurate navigation, orient your device toward
the direction in which you are navigating.
Stopping Navigation
• To stop navigation and continue your activity, hold the
touchscreen, and select Stop Navigation.
• To stop navigation and end your activity, press the key, and
select Done.
Compass
The device has a 3-axis compass with automatic calibration.
The compass features and appearance change depending on
your activity, whether GPS is enabled, and whether you are
navigating to a destination.
Calibrating the Compass Manually
Calibrate the electronic compass outdoors. To improve heading
accuracy, do not stand near objects that influence magnetic
fields, such as vehicles, buildings, and overhead power lines.
Your device was already calibrated at the factory, and the
device uses automatic calibration by default. If you experience
irregular compass behavior, for example, after moving long
from the
distances or after extreme temperature changes, you can
1).
manually calibrate the compass.
1
Hold the touchscreen.
2
Select Settings > Sensors & Accessories > Compass >
Calibrate > Start.
3
Follow the on-screen instructions.
TIP: Move your wrist in a small figure eight motion until a
message appears.
Your device stores up to 14 days of activity tracking and heart
rate monitoring data, and up to seven timed activities. You can
view your last seven timed activities on your device. You can
synchronize your data to view unlimited activities, activity
tracking data, and heart rate monitoring data on your Garmin
Connect account
(Using Garmin Connect on Your Computer, page
When the device memory is full, your oldest data is overwritten.
NOTICE
History
(Using Garmin Connect Mobile, page
12)
12).
11
