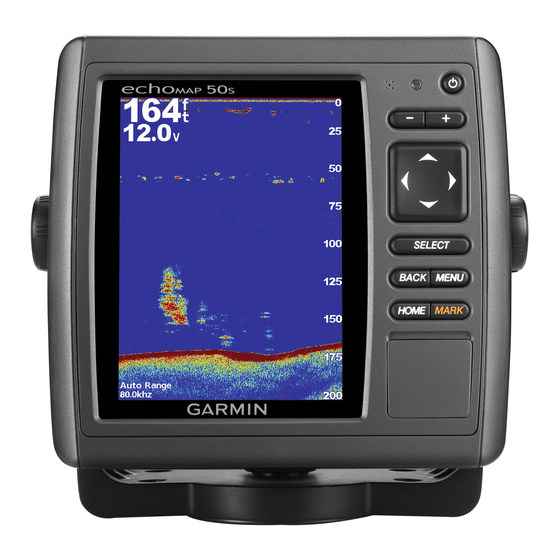
Garmin GPSMAP 557 Manuale d'uso - Pagina 19
Sfoglia online o scarica il pdf Manuale d'uso per Sistema GPS marino Garmin GPSMAP 557. Garmin GPSMAP 557 38.
Anche per Garmin GPSMAP 557: Manuale di avvio rapido (4 pagine), Manuale di istruzioni per l'installazione (8 pagine)

Viewing Tide Station, Current Station, or Celestial
Information for a Different Date
1
Select Nav Info > Tides & Currents.
2
Select Tides, Currents, or Celestial.
3
Select an option.
• To view information for a different date, select Change
Date > Manual, and enter a date.
• To view information for today, select Change Date >
Current.
• If available, to view information for the day after the date
shown, select Next Day.
• If available, to view information for the day before the date
shown, select Previous Day.
Viewing Information for a Different Tide or Current
Station
1
Select Nav Info > Tides & Currents.
2
Select Tides or Currents.
3
Select Nearby Stations.
4
Select a station.
Viewing Almanac Information from the Navigation
Chart
1
Select Charts > Navigation Chart.
2
Select an area on the map.
3
Select Information.
4
Select Tides, Currents, or Celestial.
When properly connected to an optional Garmin sounder
module and a transducer, your compatible chartplotter can be
used as a fishfinder. There are three different sonar views to
help you view the fish in the area: a full-screen view, a split-
zoom view, and a split frequency view.
Full-Screen Sonar View
The full-screen sonar view shows a large image of the sonar
readings from a transducer. The range scale along the right side
of the screen shows the depth of detected objects as the screen
scrolls from the right to the left.
Select Sonar > Full Screen.
Range adjustment controls
Position information
Suspended targets or fish
Bottom of the body of water
Range or depth of the water
Transducer frequency
Split-Zoom Sonar View
The split-zoom sonar view shows a full-view graph of sonar
readings, and a magnified portion of that graph, on the same
screen.
Select Sonar > Split Zoom.
Sonar
Sonar
Split-Frequency Sonar View
In the split-frequency sonar view, one side of the screen shows
a full-view graph of high frequency sonar data, and the other
side of the screen shows a full-view graph of lower frequency
sonar data.
NOTE: The split-frequency sonar view requires the use of a
dual-frequency transducer.
Select Sonar > Split Frequency.
Pausing the Sonar Display
From a Sonar view, select Menu > Pause Sonar.
Creating a Waypoint on the Sonar Screen
1
From a Sonar view, select Menu > Pause Sonar.
2
Select the location of the waypoint.
3
Select Mark or New Waypoint.
Adjusting the Gain on the Sonar Screen
You can control the sensitivity of the sonar receiver. To see
more detail, increase the gain. If the screen is cluttered,
decrease the gain.
1
From a Sonar view, select Menu > Gain.
2
Select an option:
• To increase or decrease the gain manually, select Up or
Down.
• To allow the chartplotter to adjust the gain automatically,
select an automatic option.
Adjusting the Range of the Depth Scale
You can adjust the range of the depth scale that appears on the
right side of the screen.
1
From a Sonar view, select Menu > Range.
2
Select an option:
• To allow the chartplotter to adjust the depth scale
automatically, select Auto.
• To increase or decrease the range of the depth scale
manually, select Up or Down.
TIP: From the sonar screen, you can select
manually adjust the range of the depth scale.
Setting the Zoom Level on the Sonar Screen
1
From a Sonar view, select Menu > Zoom.
2
Select an option:
• To zoom in on the sonar data from the bottom depth,
select Bottom Lock.
• To set the depth range of the magnified area manually,
select Set Zoom, select View Up or View Down to set
the depth range of the magnified area, and select Zoom
In or Zoom Out to increase or decrease the magnification
of the magnified area.
• To set the depth and zoom automatically, select Set
Zoom > Auto.
Selecting Frequencies
You can indicate which frequencies appear on the sonar screen
when using a dual frequency transducer.
1
From a Sonar view, select Menu > Frequency.
2
Select an option:
• To sweep each pulse through a range of frequencies to
deliver shallow-water-like target separation at extremely
deep depths and at low frequencies, select Chirp. This is
useful mainly for very deep, offshore waters and when
targeting some species of fish.
or
to
13
