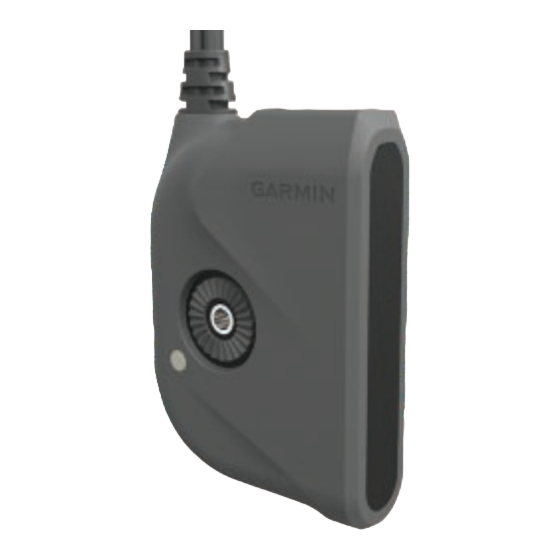
Garmin Panoptix PS21-TM Istruzioni per l'installazione - Pagina 2
Sfoglia online o scarica il pdf Istruzioni per l'installazione per Sistema GPS marino Garmin Panoptix PS21-TM. Garmin Panoptix PS21-TM 4. Frontvü

observe the water depth and forward range, especially when
your device is in manual forward range mode.
Software Update
You may need to update the device software when you install
the device or add an accessory to the device.
Loading the New Software on a Memory Card
You must copy the software update to a memory card using a
computer that is running Windows
NOTE: You can contact Garmin customer support to order a
preloaded software update card if you do not have a computer
with Windows software.
1
Insert a memory card into the card slot on the computer.
2
Select Download next to the software bundle that
corresponds with your chartplotter.
NOTE: The software download includes updates for all
devices connected to the chartplotter. Select the correct
bundle that corresponds to the chartplotter to be updated.
You can select See All Devices in this Bundle to confirm the
devices included in your download.
3
Read and agree to the terms.
4
Select Download.
5
If necessary, select Run.
6
If necessary, select the drive associated with the memory
card, and select Next > Finish.
7
Extract the files to the memory card.
NOTE: The software update can take several minutes to load
onto the memory card.
Updating the Device Software
Before you can update the software, you must obtain a
software-update memory card or load the latest software onto a
memory card.
1
Turn on the chartplotter.
2
After the home screen appears, insert the memory card into
the card slot.
NOTE: In order for the software update instructions to
appear, the device must be fully booted before the card is
inserted.
3
Follow the on-screen instructions.
4
Wait several minutes while the software update process
completes.
5
When prompted, leave the memory card in place and restart
the chartplotter manually.
6
Remove the memory card.
NOTE: If the memory card is removed before the device
restarts fully, the software update is not complete.
Registering Your Device
Help us better support you by completing our online registration
today.
• Keep the original sales receipt, or a photocopy, in a safe
place.
2
software.
®
Tools Needed
• Drill
1
• 3.2 mm (
/
in.) drill bit
8
5
• 4 mm (
/
in.) drill bit
32
• #1 Phillips screwdriver
• #2 Phillips screwdriver
• 17 mm hex socket and 17 mm hex wrench
• 7 mm hex wrenches
• Marine sealant
• Cable ties (optional)
Installing the Transducer on a Transom
Aligning the Transom-Mount Hardware on the Boat
1
Place the transom-mount on the boat transom
1
(
/
in.)
from the bottom of the hull.
2
2
Insert a shear screw
hole that keeps the housing bracket parallel to the water line
.
3
Using the transom-mount bracket as a template, mark the
location of the holes.
4
Remove the bracket.
5
Add the nut to the shear screw and tighten.
NOTE: When installed in the bracket, the shear screw and
nut may appear loose.
6
Tighten the M10 bolt
NOTE: The maximum torque applied to the M10 bolt should
not exceed 51.5 N-m (38 lb-ft.).
Installing the Transom-Mount Hardware on the Boat
1
If you are installing the bracket on fiberglass, place a piece of
tape over the pilot-hole location to reduce cracking of the gel
coat.
5
2
Using a 4 mm (
/
in.) drill bit, drill the pilot holes.
32
3
Slide the deflection shield bracket
bracket.
4
Apply marine sealant to the four 5x30 screws, and attach the
transom-mount bracket and deflection shield bracket
assembly to the transom using the 5x30 screws and 5 mm
washers.
into the transom-mount bracket in a
.
over the transom-mount
13 mm
