I
I
nstallatIon
nstructIons
Step 4: Connecting the GFS 10 to Your Chartplotter
The GFS 10 transmits data to your chartplotter using either NMEA 2000 or Garmin CANet.
Connecting the GFS 10 through NMEA 2000
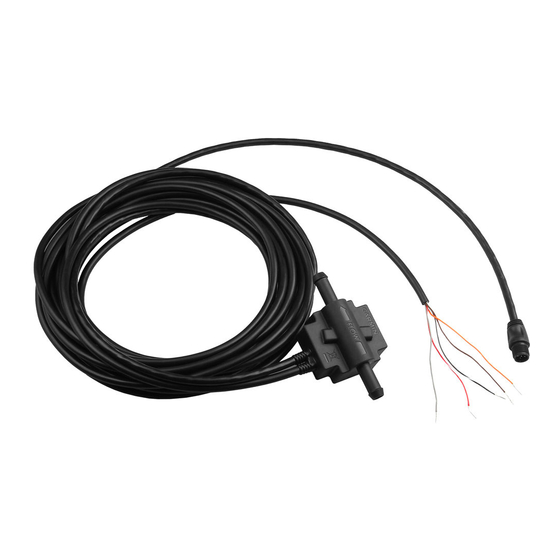
The GFS 10 is packaged with a NMEA 2000 T-connector. The GFS 10 has
a built-in NMEA 2000 drop cable. You will use these two components to
connect the GFS 10 to your existing NMEA 2000 network. If you do not
have an existing NMEA 2000 network, you will need to install a
NMEA 2000 network on your boat. For more information on NMEA 2000,
visit www.garmin.com.
To connect the GFS 10 to your existing NMEA 2000 network:
1. Determine an appropriate location to connect the GFS 10 to your
existing NMEA 2000 backbone.
2. Disconnect one side of a NMEA 2000 T-connector from the
backbone nearest to the location where you want to connect the
GFS 10.
If you need to extend the NMEA 2000 backbone, connect an
appropriate NMEA 2000 backbone extension cable (not included) to
the T-connector you disconnected.
3. Connect the included T-connector for the GFS 10 in the NMEA 2000
backbone.
4. Route the built-in drop cable on the GFS 10 to the bottom of the
T-connector you added to your NMEA 2000 network.
If the built-in drop cable is not long enough, you can add a drop
cable extension up to 14 ft (4 m). If more cable is needed, add an
extension to your NMEA 2000 backbone, based on the NMEA 2000 guidelines.
Connecting the GFS 10 through Garmin CANet
The GFS 10 is packaged with a Garmin CANet adapter that you can use to connect the GFS 10 to your existing Garmin CANet bus. If you
do not have an existing CANet bus, you will need to install a CANet bus on your boat with a Garmin CANet Kit (010-10742-00). For more
information on Garmin CANet, visit www.garmin.com.
To connect the GFS 10 to your existing CANet bus:
1. Determine the location on your CANet bus where you would like to connect the GFS 10.
2. Wire the CANet adapter to your existing CANet bus using the diagram to make the appropriate connections.
Follow the instructions included with the CANet Kit (010-10742-00) to determine if a terminator is needed in the location at which you
install the GFS 10.
3. Route the built-in drop cable on the GFS 10 to the CANet adapter, and complete the connection.
To existing
CANet bus
(not included)
To ground (-)
CANet adapter
(included)
Green
White
Bare
Black/White
Orange
Black/White
To power source/fuel gauge
Connecting the GFS 10 to a CANet Bus
Existing NMEA 000 network
Existing NMEA 000 network
(not included)
(not included)
Drop cable
Drop cable
(built-in)
(built-in)
To power source/fuel gauge
To power source/fuel gauge
(leave orange wire unconnected)
(leave orange wire unconnected)
Connecting the GFS 10 to a NMEA 2000 Network
Connecting the GFS 10 to a NMEA 2000 Network
GFS10
Drop cable
(built-in)
T-connector
T-connector
(included)
(included)
GFS 10
GFS 10
GFS 10 Installation Instructions

