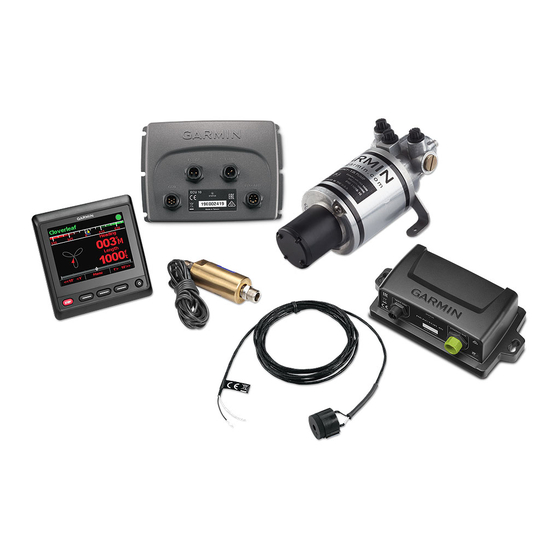
Garmin Reactor 40 Manuale di configurazione - Pagina 4
Sfoglia online o scarica il pdf Manuale di configurazione per Attrezzatura marina Garmin Reactor 40. Garmin Reactor 40 8. Mechanical
Anche per Garmin Reactor 40: Manuale di istruzioni per l'installazione (11 pagine), Manuale di istruzioni per l'installazione (13 pagine), Manuale di istruzioni per l'installazione (29 pagine), Manuale di istruzioni per l'installazione (25 pagine)

Performing the Autotune Procedure
Before you can begin this procedure, you must have a large stretch of open water available.
1 Engage the kicker motor in forward gear at moderate speed.
2 Steer the boat by hand and point in a direction with at least 100 to 200 m (100 to 200 yd.) of open water.
3 Select an option:
• If you are performing this procedure as part of the Sea Trial Wizard, select Begin.
• If you are performing this procedure outside of the Sea Trial Wizard, on a helm control or the autopilot
screen on a chartplotter, select
Autotune > Begin.
The boat performs various zigzag motions while the Autotune is in progress.
4 After the procedure is finished, follow the on-screen instructions.
5 If the Autotune procedure is not successful, select an option:
• If the Autotune procedure is not successful and you have not reached maximum cruising speed, increase
the speed, select Run Standard Autotune and repeat steps 1 through 3 until the Autotune procedure
completes successfully.
• If the Autotune procedure is not successful and you have reached maximum cruising speed, reduce your
speed to the initial Autotune speed, and select Run Alternate Autotune to begin an alternate procedure.
• If the Autotune fails immediately and you are traveling in a circle instead of performing zigzag motions,
select Switch Direction > Run Standard Autotune and repeat steps 1 through 3 until the Autotune
procedure completes successfully.
When the Autotune procedure is complete, gain values are displayed. You can use these values to determine the
quality of the Autotune procedure.
Autotune Gain Values
After the Autotune procedure is complete, you can review the gain values provided on the helm control. You can
record these numbers for reference if you want to run the autotune procedure at a later time or if you want to
manually adjust the gain settings (not recommended)
Gain: Sets how tightly the autopilot holds the heading and how aggressively it makes turns.
Counter Gain: Sets how aggressively the autopilot adjusts any over-steering after making a turn.
Setting North
Before you can begin this procedure, you must have a large stretch of open water available.
This procedure appears if the autopilot is connected to an optional GPS device, and the device has acquired
a GPS position. During this procedure, the autopilot aligns the compass heading with the Course over Ground
(COG) information from the GPS device.
If you do not have a GPS device connected, you are prompted to set the fine heading adjustment instead
(Setting the Fine Heading Adjustment,
1 Drive your boat at in a straight line at cruising speed, downwind, and in the same direction as the current.
2 Select an option:
• If you are performing this procedure as part of the Sea Trial Wizard, select Begin.
• If you are performing this procedure outside of the Sea Trial Wizard, on a helm control or the autopilot
screen on a chartplotter, select
Set North > Begin.
3 Continue to drive the boat in a straight line at cruising speed, downwind, in the same direction as the current,
and follow the on-screen instructions.
4 Select an option:
• If the calibration is not successful, repeat the previous step.
• If the calibration completes successfully, select Next.
4
> Autopilot Setup > Autopilot Installation Setup > Autopilot Tuning >
(Adjusting the Autopilot Gain Settings,
page 5).
> Autopilot Setup > Autopilot Installation Setup > Compass Setup >
page 6).
