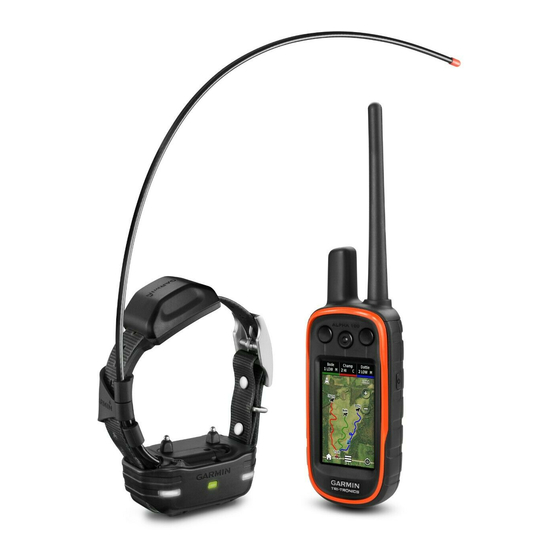
Garmin Alpha 100 with TT 15 mini Manuale d'uso - Pagina 13
Sfoglia online o scarica il pdf Manuale d'uso per Prodotto per la cura degli animali domestici Garmin Alpha 100 with TT 15 mini. Garmin Alpha 100 with TT 15 mini 26.

Repositioning a Waypoint to Your Current Location
You can change the position of a waypoint. For example, if you
move your vehicle, you can change the location to your current
position.
1
Select
> Waypoint Manager.
2
Select a waypoint.
3
Select
> Reposition Here.
The waypoint location changes to your current location.
Moving a Waypoint on the Map
1
Select
> Waypoint Manager.
2
Select a waypoint.
3
Select
> Move Waypoint.
4
Select the new location on the map.
5
Select Move.
Increasing the Accuracy of a Waypoint Location
You can refine a waypoint location for more accuracy. When
averaging, the device takes several readings at the same
location and uses the average value to provide more accuracy.
1
Select
> Waypoint Manager.
2
Select a waypoint.
3
Select
> Average Location.
4
Move to the waypoint location.
5
Select Start.
6
Follow the on-screen instructions.
7
When the confidence status bar reaches 100%, select Save.
For best results, collect 4 to 8 samples for the waypoint, waiting
at least 90 minutes between samples.
Projecting a Waypoint
You can create a new location by projecting the distance and
bearing from a marked location to a new location.
1
Select
> Waypoint Manager.
2
Select a waypoint.
3
Select
> Project Waypoint.
4
Enter the bearing, and select
5
Select a unit of measure.
6
Enter the distance, and select
7
Select Save.
Deleting a Waypoint
1
Select
> Waypoint Manager.
2
Select a waypoint.
3
Select
> Delete > Yes.
Routes
A route is a sequence of waypoints or locations that leads you to
your final destination.
Creating a Route
1
Select
> Route Planner > Create Route > Select First
Point.
2
Select a category.
3
Select the first point on the route.
4
Select Use > Select Next Point.
5
Select a point.
6
Repeat steps 3 through 6 to add all the points in the route.
Editing the Name of a Route
1
Select
> Route Planner.
2
Select a route.
Waypoints, Routes, and Tracks
.
.
3
Select Change Name.
4
Enter the new name, and select
Navigating a Saved Route
1
Select
> Route Planner.
2
Select a route.
3
Select View Map > Go.
4
Navigate using the compass
Pointer, page
10) or map
Editing a Route
1
Select
> Route Planner.
2
Select a route.
3
Select Edit Route.
4
Select a point.
5
Select an option:
• To view the point on the map, select Review.
• To change the order of the points on the route, select
Move Up or Move Down.
• To insert an additional point on the route, select Insert.
The additional point is inserted before the point you are
editing.
• To remove the point from the route, select Remove.
Reversing a Route
1
Select
> Route Planner.
2
Select a route.
3
Select Reverse Route.
Viewing a Route on the Map
1
Select
> Route Planner.
2
Select a route.
3
Select View Map.
Viewing the Active Route
1
Select
> Active Route.
2
Select a point in the route to view additional details.
Deleting a Route
1
Select
> Route Planner.
2
Select a route.
3
Select Delete Route > Yes.
Tracks
A track is a recording of your path. The track log contains
information about points along the recorded path, including time,
location, and elevation for each point.
Recording Track Logs
1
Select
> Setup > Tracks > Track Log.
2
Select Record, Do Not Show or Record, Show On Map.
If you select Record, Show On Map, a line on the map
indicates your track.
3
Select Record Method.
4
Select an option:
• To record tracks at a variable rate that create an optimum
representation of your tracks, select Auto.
• To record tracks at a specified distance, select Distance.
• To record tracks at a specified time, select Time.
5
Select Interval.
6
Complete an action:
• If you selected Auto for the Record Method, select an
option to record tracks more or less often.
.
(Navigating with the Bearing
(Map, page
10).
9
