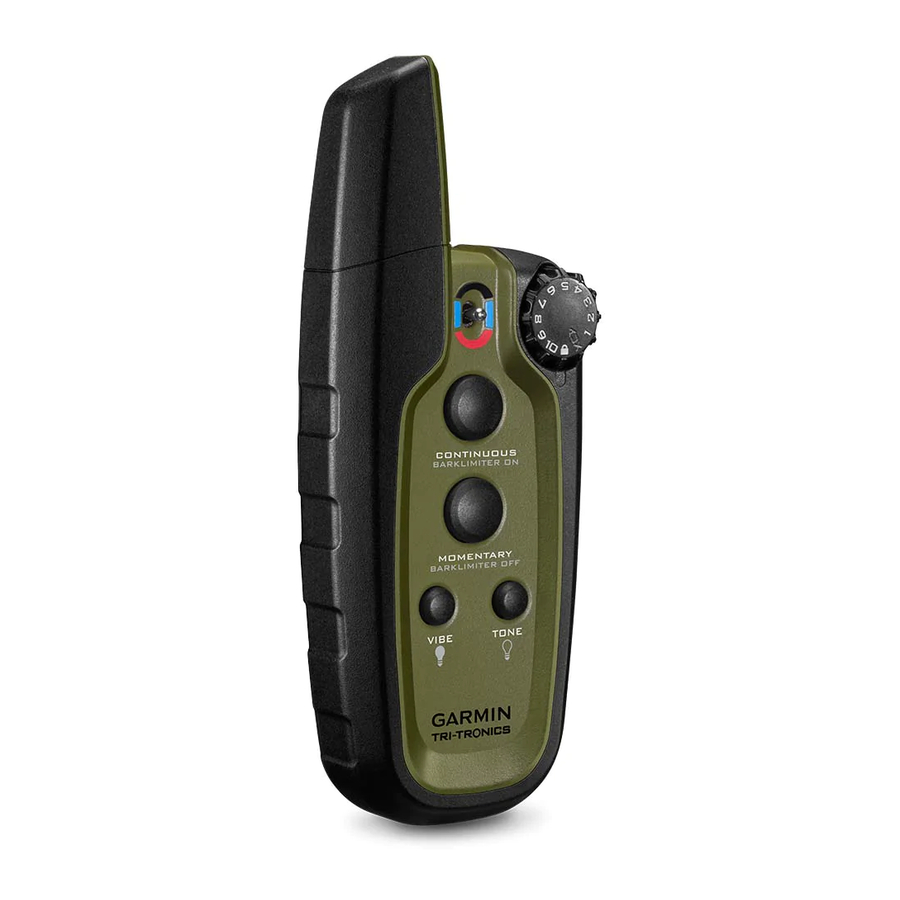
Garmin Sport PRO Manuale d'uso - Pagina 8
Sfoglia online o scarica il pdf Manuale d'uso per Prodotto per la cura degli animali domestici Garmin Sport PRO. Garmin Sport PRO 12. Dog collar device gps
Anche per Garmin Sport PRO: Manuale d'uso (20 pagine)

mode by enabling it from the handheld device
BarkLimiter Feature from the Handheld Device, page
Hold CONTINUOUS, TONE, or VIBE for 4 seconds.
The dog collar device returns to training mode.
Enabling the Independent BarkLimiter Feature from
the Dog Collar Device
The dog collar device can operate independently as a bark
correction device. You can enable the BarkLimiter feature in
auto-rise mode directly from the dog collar device. This provides
longer battery life than enabling the BarkLimiter feature from the
handheld device.
NOTE: When using the device in this mode, the radio signal is
disabled and you cannot control the dog collar device with the
handheld device.
1
On the dog collar device, hold the power key until the LED
flashes blue.
2
To return to training mode, turn off the dog collar device and
turn it back on in training mode
Device, page
2).
Bark Odometer
™
When you turn off the dog collar device in independent
BarkLimiter mode, the LED flashes red and green to report the
number of times the device detected a bark since it was last
turned on. This can help you track your dog's barking behavior.
Red flash
Green flash
For example, one red flash followed by four green flashes
indicates the device detected 14 barks.
Zero flashes indicates the device detected zero barks.
Using the Light
You can use the light feature on your device to verify pairing,
help locate your dog, and provide safety for your dog at night.
1
Select a dog collar device
page
2).
2
Set the dial to AUX.
3
Select to turn the light on.
4
Select to turn the light off.
Device Information
Handheld Device Specifications
Battery type
Battery life
Operating temperature range
Charging temperature range
Storage temperature range (up
to 1 mo.)
Storage temperature range (up
to 3 mo.)
Water rating
*The device withstands incidental exposure to water of up to 1 m
for up to 30 min. For more information, go to
/waterrating.
Dog Collar Device Specifications
Battery type
Battery life
Operating temperature range
Charging temperature range
4
(Enabling the
3).
(Turning On the Dog Collar
10 barks
1 bark
(Selecting a Dog Collar Device,
Rechargeable lithium-ion
Up to 60 hr. of typical use
From -20° to 60°C (from -4° to 140°F)
From 0° to 40°C (from 32° to 104°F)
From -20° to 50°C (from -4° to 122°F)
From -20° to 35°C (from -4° to 95°F)
IEC 60529 IPX7*
www.garmin.com
Rechargeable, replaceable lithium-ion
Up to 60 hr. of typical use
From -20° to 60°C (from -4° to 140°F)
From 0° to 40°C (from 32° to 104°F)
Storage temperature range (up
to 1 mo.)
Storage temperature range (up
to 3 mo.)
Water rating
*The device withstands pressure equivalent to a depth of 10 m.
For more information, go to www.garmin.com/waterrating.
Sport PRO Battery Replacement Instructions
This product contains a lithium-ion battery. To prevent the
possibility of personal injury or product damage caused by
battery exposure to extreme heat, store the device out of direct
sunlight.
Do not use a sharp object to remove batteries.
Contact your local waste disposal department to properly
recycle the batteries.
Sport PRO Handheld Device Components
Security screws
Back plate
Battery
Battery connector
Front plate
Gasket
Replacing the Handheld Device Battery
Before you can replace the battery, you must remove all dirt,
water, and debris from the device. You also need the security
screwdriver included in the battery replacement kit.
1
Remove the security screws from the back of the device.
2
Lift up the back plate.
3
Grip the battery connector wires close to the connector, and
pull the connector perpendicular to the circuit board to
disconnect the battery connector from the device.
4
Remove the old battery from the back plate, noting the
orientation of the battery.
The battery fits tightly. It may be necessary to pry the battery
out of the back plate using a non-sharp, non-metal object.
5
Install the new battery into the back plate with the label side
up, using the same orientation as the old battery.
6
With the new battery, connect the battery connector to the
device.
When properly installed, the connector plug snaps into the
port.
From -20° to 50°C (from -4° to 122°F)
From -20° to 35°C (from -4° to 95°F)
1 ATM*
WARNING
CAUTION
Device Information
