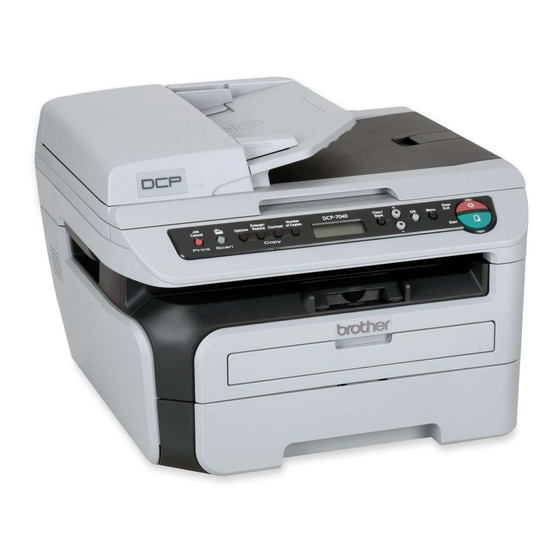
Brother DCP-7040 Manuale di configurazione rapida - Pagina 12
Sfoglia online o scarica il pdf Manuale di configurazione rapida per Stampante Brother DCP-7040. Brother DCP-7040 18. Quick setup guide - spanish
Anche per Brother DCP-7040: Manuale di configurazione rapida (20 pagine), Manuale di configurazione rapida (19 pagine), Manuale di configurazione rapida (32 pagine), (Inglese) Guida alla configurazione rapida (20 pagine)

STEP 2
Installing the Driver & Software
For Wired Network Interface Users (DCP-7045N only)
2
(For Windows
Edition/Windows Vista
Important
Make sure that you have finished the
instructions from step 1 Setting Up the
Machine on pages 4 through 6.
Note
The supplied CD-ROM includes ScanSoft™
PaperPort™ 11SE. This software supports
®
Windows
2000 (SP4 or greater), XP (SP2 or
greater), XP Professional x64 Edition and
Windows Vista
®
Windows
Service Pack before installing
MFL-Pro Suite.
1
Turn off and unplug the machine from the AC
outlet.
2
Connect the network interface cable to the
machine, and then connect it to your network.
3
Plug the AC power cord into an AC outlet. Turn
the power switch on.
4
Turn on your computer. (You must be logged
on with Administrator rights.) Close any
applications running before installing the MFL-
Pro Suite.
Note
Before installation, if you are using personal
firewall software, disable it. After the installation,
restart your personal firewall software.
5
Put the supplied CD-ROM into your CD-ROM
drive. Follow the on-screen instruction.
10
®
2000 Professional/XP/XP Professional x64
®
®
only. Please update to the latest
)
6
The CD-ROM main menu will appear. Click
Install MFL-Pro Suite.
7
After reading and accepting the ScanSoft™
PaperPort™ 11SE License Agreement, click
Yes.
The installation of ScanSoft™ PaperPort™
11SE will automatically start and is followed by
the installation of MFL-Pro Suite.
8
When the Brother MFL-Pro Suite Software
License Agreement window appears, click Yes
if you agree to the Software License
Agreement.
9
Choose Network Connection, and then click
Next.
Note
If you want to install the PS driver (Brother's
BR-Script Driver), choose Custom Install and
then follow the on-screen instructions. When the
Select Features screen appears, check
PS Printer Driver, and then continue following the
on-screen instructions.
10
For Windows
choose Change the Firewall port settings to
enable network connection and continue
with the installation. (Recommended) and
click Next.
If you are not using the Windows
the User's Guide for your software for
information on how to add the following
network ports.
For network scanning, add UDP port
54925.
For network PC-Fax receiving, add UDP
port 54926.
If you still have trouble with your network
connection, add UDP port 137.
11
If the machine is configured for your network,
choose the machine from the list, and then click
Next.
If your machine shows APIPA in the IP
Address Field, click Configure IP Address
and enter an IP address for your machine that
is suitable for your network.
Windows
®
®
XP SP2/Windows Vista
®
Firewall, see
®
users,
