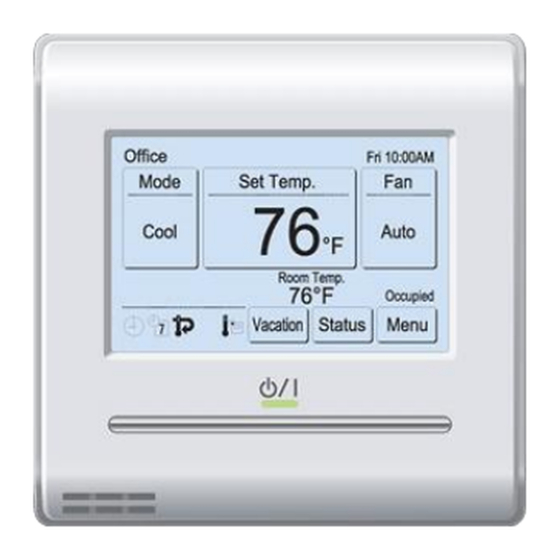
Fujitsu UTY-RNRUZ2 Manuale di installazione - Pagina 3
Sfoglia online o scarica il pdf Manuale di installazione per Condizionatore d'aria Fujitsu UTY-RNRUZ2. Fujitsu UTY-RNRUZ2 11. Remote controller (wired type)
Anche per Fujitsu UTY-RNRUZ2: Manuale operativo (26 pagine)

5. I NSTALLING THE REMOTE
CONTROLLER
WARNING
Always use the accessories and specified installation work parts. Check
the state of the installation parts. Not using the specified parts will cause
units to fall off, water leakage, electric shock, fire, etc.
Install at a place that can withstand the weight of the unit and install
firmly so that the unit will not topple or fall.
When installing this unit, make sure that there are no children nearby.
Otherwise, injury or electric shock could result.
Before starting installation work, turn off the power of this unit and the
connection destination. Do not turn on the power again until installation
is completed. Otherwise, it will cause electric shock or fire.
Use the accessories or specified connection cables. Do not modify con-
nection cables other than those specified, do not use extension cords,
and do not use independent branch wiring. The allowable current will be
exceeded and cause electric shock or fire.
Install the remote controller cables securely to the terminal block. Con-
firm that external force is not applied to the cable. Use remote controller
cables made of the specified wire. If intermediate connection or inser-
tion fixing are imperfect, it will cause electric shock, fire, etc.
When connecting the remote controller cable, route the cables so that
the rear case of this unit is securely fixed. If the rear case is imperfectly
fixed, it may cause fire or overheating of the terminals.
Perform functional earthing work positively. Do not connect the func-
tional earthing wire to a telephone earth (Ground) wire, water pipe, or
conductor rod.
Always fasten the outside covering of the connection cable with the
cable tie. If the insulator is chafed, electric discharge may occur.
CAUTION
Do not set the DIP switch or rotary switch of this unit except as specified
in this manual or the operating manual supplied with the air conditioner.
Setting the switches other than specified will cause an accident or
trouble.
Before opening the case of this unit, completely discharge static elec-
tricity charged on you body. Not doing so will cause trouble.
Do not touch the circuit board and circuit board parts directly with your
hands. Otherwise, injury or electric shock could result.
Be careful so that the front case does not fall after the front case screws
are removed. Otherwise, injury could result.
Install the remote controller cables 1 m away from television and radio
to avoid distorted images and noise.
Confirm the name of each terminal block of the unit and connect the
wiring in accordance with the directions given in the manual. Improper
wiring work will damage the electric parts and cause smoke and fire.
Connect the connectors securely. Loose connectors will cause trouble,
heating, fire, or electric shock.
Never bundle the remote controller cables , the power supply cable and
transmission cable together. Bundling these cables together will cause
miss operation.
When installing the connection cable near a source of electromagnetic
waves, use shielded cable. Otherwise, a breakdown or malfunction
could result.
5.1. Wiring types
5.1.1. Single control
Indoor unit
Remote controller
5.1.2. Group control
With a single remote controller, up to 16 units can be simultaneously oper-
ated.
Indoor unit 0 Indoor unit 1 Indoor unit 2 Indoor unit 3
Remote controller
5.1.3. Multiple remote control
Number of connectable remote controllers. VRF: 4, RAC: 2
Multiple installation method described above is prohibited to combine 3
Wired type with 2 Wired Type.
In multiple installations, the following functions are restricted.
Functions that can only be used with a Master Remote Controller:
• Auto Off Timer Setting *1
• Weekly Timer Setting *1
• Set Temp. Auto Return *1
• 6.3.11 Optimum Start Setting
• 6.4.7 I.U. Address Verification
• 6.4.8 Function Setting
(*1 : Refer to Operating manual)
Indoor unit
Remote
controller
(Master)
Group control and multiple remote control can be used together.
5.2. Preparing for Installation
5.2.1. Strip of the remote controller cable
Sheathed cable
5.2.2. Remove the front case
When opening the remote controller, remove the connector from the
front case. The cables may break if the connector is not removed and
the front case hangs down. When installing the front case, connect the
connector to the front case. When removing and connecting the connec-
tor, be careful not to break the cables.
Release the claws (2 places) with a flat-blade screwdriver, and separate
the front case and rear case.
Lightly lift the
front case.
Flat-blade
screwdriver
Disconnect the connection cable connector from the connector of the front
case PC board (printed circuit board).
Rear
case
Remote
controller
(Slave)
A
B
A: 1/4 in (7 mm)
B: 1/4 in (7 mm)
Front case
Rear case
Claws (2 places)
Front case
(back side)
Connector
En-3
