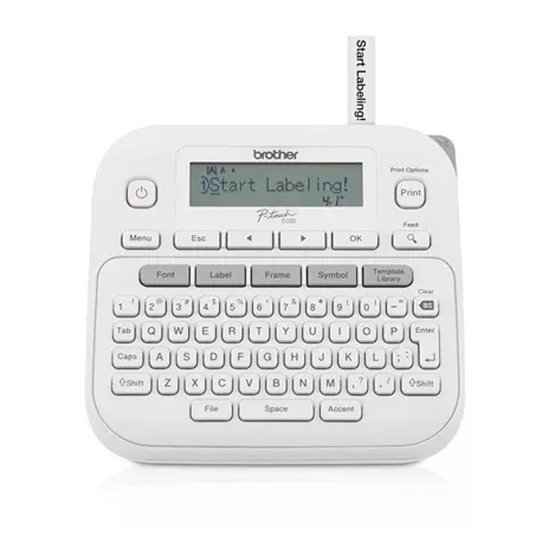
Brother P-touch PT-D220 Manuale d'uso - Pagina 3
Sfoglia online o scarica il pdf Manuale d'uso per Etichettatrice Brother P-touch PT-D220. Brother P-touch PT-D220 8.

2
BASIC USAGE
Entering Text
Switching Upper Case/Lower Case
Upper case (
ON) Lower case (
Caps
Caps
Creating Two-Line Labels
Move the cursor to where you want to start the next
line and press
. Use either 0.35" (9mm) or 0.47"
(12mm) wide tape for two line printing.
Line 1
Label image
Line 2
NOTE
• The return symbol ( ) will be displayed when the
Enter key is pressed.
Entering Tabs
/
[Tab]
• You can also set a tab by pressing
• A
will appear on the screen when a tab is
inserted into the text.
• The maximum number of tabs for a label is 80
without text. If you enter 1 letter, you can set 79
tabs.
Changing Tab Length
/
[Tab Length]
/
[Auto/0.0"-4.0"
(0-100 mm)]
• To change setting back to default, press
. The default setting is [Auto].
• After pressing
, "Accepted" appears for
approximately one second.
Entering Accented Characters
-
OFF)
• Refer to the accented characters section.
• To cancel operations, press
• The order of accented characters differs by the
selected LCD language.
Changing Label Length
/
/
[Auto/1.2"-12.0"
(30-300 mm)]
NOTE
• After the label is printed, cut along the printed
dots (:) with scissors so that the label length
matches what is shown on the LCD.
• If a specific label length has been selected,
also appears in the LCD.
• By pressing
, [Auto] will be displayed.
• To change setting back to default, press
.
• After pressing
, "Accepted" appears for
approximately one second.
.
To Clear
By pressing
, the letters will be deleted one by
one.
To delete all text and settings :
+
/
To delete text only :
+
/
NOTE
• You can also delete all text and settings or text
only by pressing
/
[Clear]
/
[Text&Format]/[Text Only]
• After pressing
, "Accepted" appears for
approximately one second.
Printing Labels
Preview
/
/
You can preview the text before printing.
• Pressing the Preview key displays a generated
.
image of the label, and may differ from the
actual label when printed.
• When the LCD cannot display all the text at
once, press
text.
[Label Length]
• Press
mode.
Feeding (Tape Feed)
+
• This function will feed approximately 1" (25mm)
of blank tape.
Printing
[Copies: ]
• If you need only 1 copy of the label, press
without selecting the number of copies.
• You can print up to 9 copies of each label.
• The number of copies can also be specified by
pressing a number key.
• To cut the label, push in the Tape Cutter Lever
[Text&Format]
on the upper-right corner of the machine after
the message "Please Cut" is displayed. "Please
Cut" is displayed on the screen for 2 seconds.
[Text Only]
• To prevent damage to the tape, do not touch the
Cutter Lever while the message "Please Wait"
is displayed.
• To remove the backing, fold the label
lengthwise with the text facing inward, to
expose the inside edges of the backing. Peel
off the backing one piece at a time and apply.
Using Print Options (
[Numbering]
You can print a series of up to 9 labels at a time using
auto-numbering. Using this feature you can
automatically increase a selected number by 1 after
each label is printed. The numbers of labels you can
print at one time are dependant upon the initial
number.
/
to display the hidden
Example: To print copies of a label containing a
/
/
to leave the preview
• Select the highest number you wish to be
[Mirror]
Example: If you want to Mirror Print "J.SMITH",
/
/
-
• Use clear tape in [Mirror], so the labels can be
+
)
serial number (0123, 0124 and 0125)
Enter numbers
/
Move the
cursor to the number you wish to increment
+
/
[Numbering]
/
printed when setting the number.
follow the instructions below after
entering "J.SMITH".
Enter text/characters
+
/
[Mirror]
[Mirror Print?]
read correctly from the opposite side when
attached on glass, windows or other
transparent surfaces.
