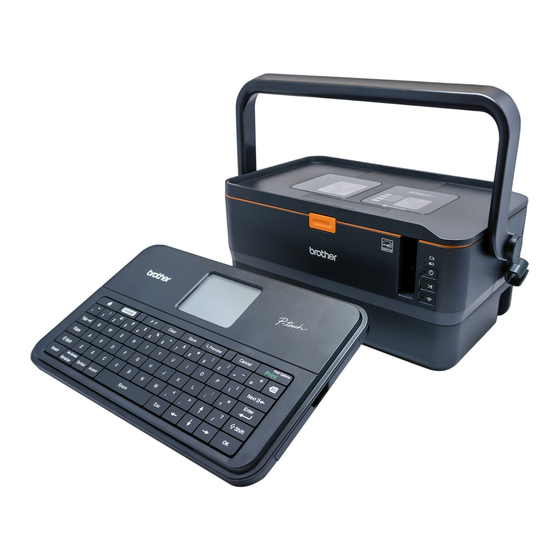
Brother P-Touch PT-E800W Manuale di configurazione rapida - Pagina 4
Sfoglia online o scarica il pdf Manuale di configurazione rapida per Etichettatrice Brother P-Touch PT-E800W. Brother P-Touch PT-E800W 9.

Turning Power On/Off
On: Press the
(Power) button to turn on the P-touch labeling system. The
(Power) indicator lights in green.
NOTE
When the P-touch labeling system is turned on for the first time, the
language selection screen appears. Select the language you want using
the
or
key. The language setting can also be changed later. (See
Setting Language and Unit.)
Off: Press and hold the
(Power) button again to turn off the P-touch
labeling system. The
(Power) indicator may light in orange until the power
is off.
IMPORTANT
When turning off the P-touch labeling system, do NOT remove the
battery or disconnect the AC adapter until the
off.
Keyboard LCD Unit Description
Key Names and Functions
1
2
3
23
22
21
12
20
19
18
17
1
Home
Returns to the Home screen to select a menu.
2
Format
Sets characters and attributes.
3
PF (Programmable Function)
Select programmable function.
4
Clear
Clears all text entered, or all text and current settings.
5
Save
Saves the created data in the file memory.
6
Preview
Displays an image of the label that will be printed in the set layout.
7
Cancel
Deletes the print job.
8
Print/Print Option
• Prints the current data onto the tape.
• Prints multiple copies or changes the print settings when used in
combination with the Shift key.
9
BS (Backspace)
Deletes the character to the left of the cursor.
10 Next
Creates the next page.
11 Enter
Adds a new line when entering text.
Selects the displayed option.
12 Shift
Enters upper-case letters or symbols when used in combination with the
letter keys or number keys.
13 OK
Selects the displayed option.
14 Cursor (
)
Moves the cursor in the direction of the arrow.
15 Esc (Escape)
Cancels the current command and returns the display to the data entry
screen or the previous step.
16 Space
• Inserts a blank space.
• Returns a setting to the default value.
17 Accent
Selects and enters an accented character.
18 Symbol
Selects and enters a symbol from a list of available symbols.
19 Serialize/Adv.Serialize
Sets serialized numbers.
20 Insert
Inserts a time stamp, barcode, database, or transferred symbol.
21 Caps
Turns the Caps mode on and off.
22 Tab
Inserts a tab.
(Power) indicator turns
4
5
6
7
16
15
14
23 Letter
• Enters letters or numbers.
• Enters upper-case letters or symbols when used in combination with
the Caps or Shift key.
LCD
Home Screen
1
2
5
6
9
1
Auto Format (Templates)
Specifies the label format from the preset templates.
2
Create Label
Displays the label creation screen.
3
Auto Format (Block Layouts)
Specifies the label format from the preset layouts.
4
File
Retrieves data that is saved in the file memory.
5
Cable Label
Specifies the label type from the following seven types: Faceplate/Cable
Wrap/Cable Flag/Patch Panel/Punch-Down Block/Die-cut Flag/Inverted
Label.
8
6
Transferred Templates
Retrieves data that was transferred from a computer.
9
7
Settings
10
Specifies various settings for the P-touch labeling system.
8
Register Programmable Function
11
Registers, deletes, and renames programs.
12
9
Wireless Connection
13
The left icon indicates the status of the Wi-Fi
icon indicates the status of the Wireless Direct connection.
Connected in Wi-Fi mode
Disconnected in Wi-Fi mode
Wireless direct mode ON
Connecting using the Setup Wizard
(Blinking)
(Off)
Wireless connection OFF
10 Battery Level
Indicates the remaining battery level. It appears only when using the
Li-ion battery.
- Full
- Half
®
connection and the right
- Low
- Charging
- Empty
3
4
7
8
10
