Brother QL-710W/720NW Manuale d'uso - Pagina 20
Sfoglia online o scarica il pdf Manuale d'uso per Etichettatrice Brother QL-710W/720NW. Brother QL-710W/720NW 23. Label printer
Problem
The printed bar code cannot be
read.
I want to reset the printer/delete
the data transferred from the
PC/Mac.
I want to cancel the current
printing job.
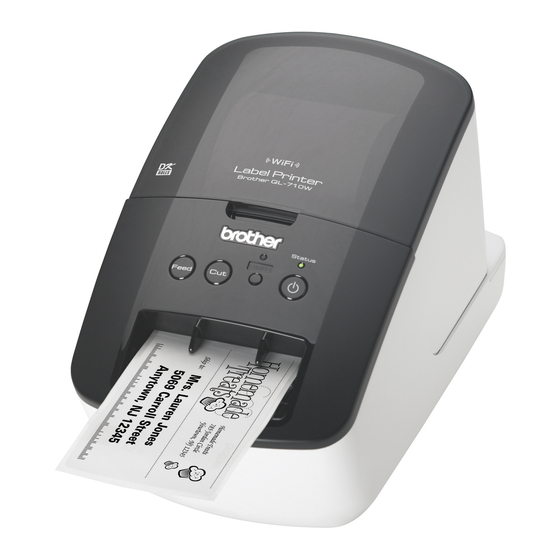
• Set the label vertical to the print head as shown below.
Label exit slot
Print head
• Some types of scanner are not able to read the bar code. Try
using another scanner.
• We recommend printing the Bar code with Print Quality options
set to "Give priority to print quality".
®
Windows
XP:
To change the Print Quality options, open the printer properties
by going to [Control Panel] - [Printers and Other Hardware] -
[Printers and Faxes], right click the printer you want to change the
settings of, then select [Properties]. Then, in the [General] tab,
click [Printing Preferences...].
®
Windows Vista
:
To change the Print Quality options, open the printer properties
by going to [Control Panel] - [Hardware and Sound] - [Printers],
right click the printer you want to change the settings of, then
select [Properties]. Then, in the [General] tab, click [Printing
Preferences...].
®
Windows
7:
To change the Print Quality options, open the printer properties
by going to
- [Devices and Printers], right click the printer you
want to change the settings of, then select [Printer properties].
Then, in the [General] tab, click [Preferences...].
Mac OS X 10.5.8 - 10.7:
To change the Print Quality options, use the "Basic" tab in the
printer properties.
Press and hold the Cut button while holding down the ON/OFF
button when the machine is turned off. When the Wi-Fi lamp
starts flashing and the Status lamp lights orange, press the Cut
button six times while continuing to hold down the ON/OFF
button. The machine will then reset. All data transferred from the
PC/Mac will be deleted and the machine will be reset to factory
settings.
• Make sure that the printer is ON, and press the ON/OFF button.
Solution
Recommended
print direction
19