Brother QL-810W Manuale di configurazione rapida - Pagina 4
Sfoglia online o scarica il pdf Manuale di configurazione rapida per Etichettatrice Brother QL-810W. Brother QL-810W 10. Dk label. dk tape
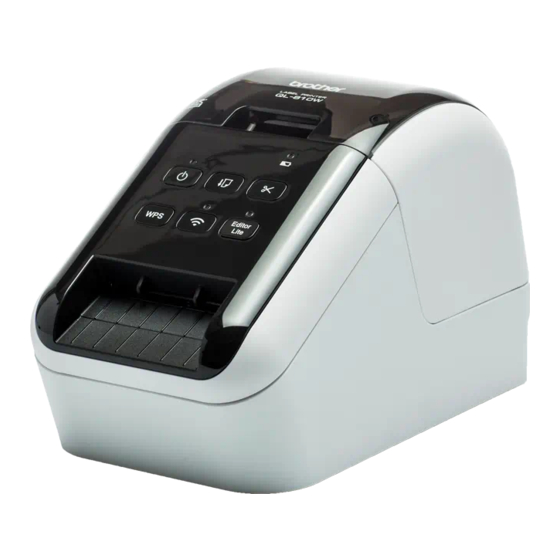
Anche per Brother QL-810W: Manuale di configurazione rapida (10 pagine), Manuale di sicurezza del prodotto (11 pagine), Manuale di installazione (5 pagine), Manuale (2 pagine)
3. Setting the DK Roll
1
Make sure that the printer is turned off. Hold the printer
by the front, and firmly lift the DK Roll Compartment Cover
to open it. Pull out the protective sheet in the Label Outlet
Slot.
IMPORTANT
• Do not throw away the protective sheet.
• When the printer is not in use, lift the DK Roll Compartment Cover and remove any DK Rolls from inside
the printer. Then insert the protective sheet into the Label Output Slot for the printer to maintain good
printing quality.
2
After removing the protective material, place the DK Roll
into the Roll Spool Guides.
• Make sure that the Roll Spool Arms are inserted firmly in the
Roll Spool Guides.
• Make sure the stabiliser 1 slide into the notch of the printer.
3
Thread the DK Roll through the printer.
• Align the edge of the DK Roll with the upright edge of the
Label Output Slot.
• Insert the first label into the slot inside the compartment.
• Push the labels through the Label Output Slot until the end
reaches the mark, as shown.
4
Close the DK Roll Compartment Cover.
When you press the Power ( ) Button to turn the printer on,
the end of the DK Roll aligns automatically.
IMPORTANT
• Do not leave the printed labels in the printer. Doing so will cause the labels to jam.
• When not in use, close the DK Roll Compartment Cover to prevent dust and debris from gathering in
the printer.
NOTE
Press the Cutter Button for two seconds to feed the tape automatically (for QL-820NWB).
4. Connect the Power Supply
Connect the power cord to the printer and then plug
the power cord into an electrical socket.
Protective
The PA-BU-001 (optional battery unit) can also
Sheet
be used.
5. Using the Battery Unit (Rechargeable Li-ion Battery)
Charging the Battery Unit
NOTE
• Before use, fully charge the Battery Unit.
• It may take up to 2.5 hours to fully charge the Battery Unit.
1
Make sure the Battery Unit is installed in the printer.
2
Use the AC Adapter and AC Power Cord to connect the printer to an electrical socket.
Press the Power ( ) Button to turn the printer on if it is not on already.
For QL-810W, the Battery (
Unit is fully charged.
For QL-820NWB, the Battery Power is shown on the LCD.
1
NOTE
Although charging stops if the printer is used to print, feed, or perform another operation, charging will start
again automatically after the operation finishes if the charging is not completed.
Stopping Battery Unit Charging
To stop the Battery Unit charging, disconnect the AC Adapter.
Notes on Using the Battery Unit
• Before use, fully charge the Battery Unit. Do not use it until it is fully charged.
• The Battery Unit charging must take place in environments between 10°C and 35°C, otherwise the Battery Unit will not
charge. If the charging stops because the environment temperature is too low or too high, place the printer in an environment
between 10°C and 35°C and try charging again.
• If the printer is used to print, feed, or perform another operation when both the battery is installed and the AC Adapter is
connected, the charging may stop even if the battery is not fully charged. When the operation to the printer stops, the battery
continue to charge.
Battery Unit Characteristics
To ensure the highest performance and longest life from the Battery Unit:
• Do not use or store the Battery Unit in a location exposed to extreme high or low temperatures as it may discharge more
quickly. This may happen when using a Battery Unit with a high charge (90% charged or more) in a location exposed to high
temperatures.
• Remove the Battery Unit when storing the printer for a long period of time.
• Store a Battery Unit with less than a 50% charge in a cool dry place out of direct sunlight.
• Recharge the Battery Unit every six months if it is stored for a long period of time.
• If you touch a part of the printer while the Battery Unit is charging, that part of the printer may feel warm. This is normal, and
the printer may be used safely; however, if the printer becomes extremely hot, discontinue use immediately.
) LED lights in orange while charging, and it goes off when the Battery