Brother Business Smart MFC-J4510dw Manuale - Pagina 12

Sfoglia online o scarica il pdf Manuale per Server di stampa Brother Business Smart MFC-J4510dw. Brother Business Smart MFC-J4510dw 36. Quick setup guide - spanish
Anche per Brother Business Smart MFC-J4510dw: Manuale (22 pagine), Manuale di sicurezza del prodotto (17 pagine), Manuale (13 pagine), Manuale (22 pagine), Manuale di configurazione rapida (47 pagine), Manuale (18 pagine), Manuale di configurazione rapida (47 pagine), Opuscolo e specifiche (4 pagine), Manuale di sicurezza del prodotto (20 pagine), Specifiche tecniche (2 pagine), Manuale di configurazione rapida (47 pagine), Manuale di avvio rapido (29 pagine), Manuale di sicurezza del prodotto (25 pagine), (Spagnolo) Guia De Web Connect Manual (38 pagine), (Spagnolo) Manuale (24 pagine), (Inglese) Manuale della guida alla sicurezza del prodotto (16 pagine), (Spagnolo) Manuale (11 pagine), (Inglese) Guida alla configurazione rapida (47 pagine)
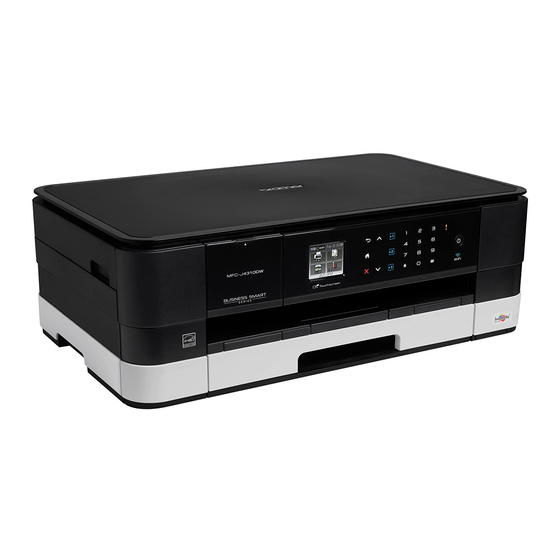
Brother Business Smart MFC-J4510dw Manuale
Introduction
m
Do one of the following:
To set a PIN for the account, press Yes. Enter a four-digit number and press OK. (A PIN prevents
unauthorized access to the account.)
If you do not want to set a PIN, press No.
n
You will be asked if you want to register the account information you entered.
Press Yes to register.
Press No to enter the information again. Go back to step j.
o
Account registration is complete.
Press OK.
p
Press
.
NOTE
Up to 10 accounts can be registered on the machine.
For DCP-J4110DW, MFC-J4410DW/J4610DW
a
Before you register an account, confirm that the correct time and date are set on the machine's control
panel. See the Quick Setup Guide included with your machine for instructions on setting the correct time
and date.
b
Press s or t to display Web.
Press Web.
c
Information regarding the Internet connection is displayed on the machine's LCD. Read the information
and press OK.
d
You will be asked if you want to display this information again in the future.
Press Yes or No.
e
Choose the desired service.
f
If information regarding Brother Web Connect is displayed, press OK.
g
Press Register/Delete.
h
Press Register Account.
i
A message is displayed prompting you to enter the temporary ID you received when you applied for
Brother Web Connect access.
Press OK.
1
1
9