Brother Business Smart MFC-J4510dw Manuale di configurazione rapida - Pagina 6

Sfoglia online o scarica il pdf Manuale di configurazione rapida per Server di stampa Brother Business Smart MFC-J4510dw. Brother Business Smart MFC-J4510dw 47. Quick setup guide - spanish
Anche per Brother Business Smart MFC-J4510dw: Manuale (36 pagine), Manuale (22 pagine), Manuale di sicurezza del prodotto (17 pagine), Manuale (13 pagine), Manuale (22 pagine), Manuale (18 pagine), Manuale di configurazione rapida (47 pagine), Opuscolo e specifiche (4 pagine), Manuale di sicurezza del prodotto (20 pagine), Specifiche tecniche (2 pagine), Manuale di configurazione rapida (47 pagine), Manuale di avvio rapido (29 pagine), Manuale di sicurezza del prodotto (25 pagine), (Spagnolo) Guia De Web Connect Manual (38 pagine), (Spagnolo) Manuale (24 pagine), (Inglese) Manuale della guida alla sicurezza del prodotto (16 pagine), (Spagnolo) Manuale (11 pagine), (Inglese) Guida alla configurazione rapida (47 pagine)
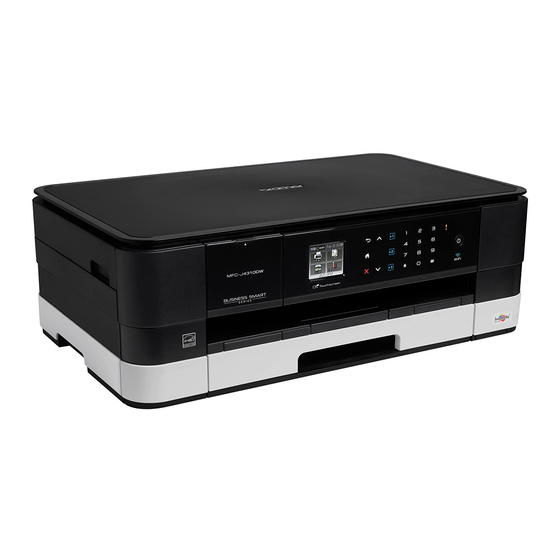
Brother Business Smart MFC-J4510dw Manuale di configurazione rapida
c
Remove the orange protective part a.
NOTE
Do not throw away the orange protective part.
You will need it if you transport the machine.
d
Unpack the ink cartridge.
Turn the green release lever on the orange
protective packing a counterclockwise until it
clicks to release the vacuum seal. Then
remove the orange protective packing a as
shown.
IMPORTANT
• DO NOT shake the ink cartridges. If ink stains
your skin or clothing, wash with soap or
detergent at once.
• DO NOT touch the cartridge in the area
indicated b, as this can cause the machine not
to function with the cartridge.
6
1
2
1
2
1
e
Take care to match the sticker color a with the
cartridge color b as shown in the diagram
below.
Install each ink cartridge in the direction of the
arrow on the label.
f
Gently push the back of the ink cartridge
marked "PUSH" until it latches. After all the ink
cartridges are installed close the ink cartridge
cover.
NOTE
The machine will prepare the ink tube system for
printing. This process will take approximately four
minutes. Do not turn off the machine.
1
2