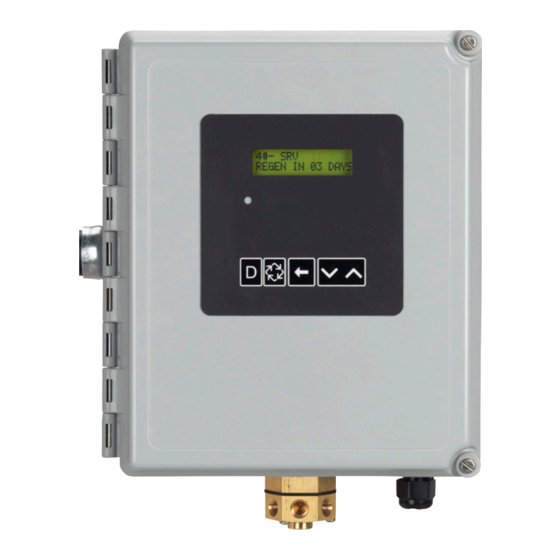
AQmatic NX48 Manuale di servizio - Pagina 6
Sfoglia online o scarica il pdf Manuale di servizio per Controllore AQmatic NX48. AQmatic NX48 18. Nxt stager controller

TIMER OPERATION
Set Time of Day
Hold the Up or Down button to change time. While in time
change mode press Shift to adjust next digit over. On multiple
tank systems change time on #1 control only. All other controls
in system will mirror the time on control #1.
Manually Initiating a Regeneration
1. When timer is In Service or Stand By, press the Extra Cycle
button on the main screen for five (5) seconds to force a
manual regeneration if another unit is not in Regeneration.
2. The timer reaches Regeneration cycle Step #1.
3. Press the Extra Cycle button once to advance valve to the
next Regeneration cycle.
Timer Operation During Regeneration
In the Regeneration cycle step display, the timer shows
the current Regeneration cycle number the valve is in, or
has reached, and the time remaining in that step. Once all
regeneration steps are complete the timer returns to In Service
and resumes normal operation.
Example: 12 minutes remaining in Cycle 1
Press the Extra Cycle button during a
Regeneration Cycle to immediately advance the
valve to the next cycle and resume normal timing.
Flow Meter Equipped Timer
During normal operation the Time of Day screen alternates with
the Error screen (if errors are present).
As treated water is used, the Volume Remaining display counts
down from the calculated system capacity to zero. When zero
is reached a Regeneration cycle begins if no other units are in
regeneration.
Timer Operation During Programming
The timer enters the Program Mode in Standby or Service
Mode as long as it is not in regeneration. While in the Program
Mode the timer continues to operate normally monitoring water
usage. Timer programming is stored in memory permanently.
Timer Operation During A Power Failure
During a power failure all timer displays and programming are
stored for use upon power re-application. The timer retains
all values, without loss. The timer is fully inoperative and any
calls for regeneration are delayed. The timer, upon power
re-application, resumes normal operation from the point that it
was interrupted.
NOTE: A flashing Time of Day display indicates a power
outage. Hold the Up or Down button to reset time.
NXT Stager Controller AU11
Remote Lockout
The timer does not allow the unit/system to go into
Regeneration until the regeneration lockout input signal to the
unit is cleared. This requires a contact closure to activate the
lockout. The recommended gauge wire is 20 with a maximum
length of 500 feet.
Regeneration Day Override Feature
If the Day Override option is turned on and the actual number
of days since last regeneration exceeds the set regeneration
day override value, the Regeneration cycle starts. If other units
are in regeneration, it is added to a regeneration queue. This
occurs regardless of the remaining volume available.
This unit is not designed to drive/power
WAR NING:
external devices. Transformer must be
grounded. Ground wire must be terminated
to the back plate where grounding label is
located.
Auxiliary Relay Output
The Auxiliary Relay Output on the circuit board can be
programmed to be closed during a window of time within the
regeneration sequence. The Aux Relay Output Start time sets
the turn-on time referenced to the start of regeneration. The
Aux Relay Output End time sets the turn-off time referenced to
the start of regeneration. The Auxiliary Relay Output shares the
same relay as the Chemical Pump Output. See wiring diagram
for connection information.
Chemical Pump Output
When the Chemical Pump Output feature is enabled, the
control will calculate volume of water used and close the
relay when the set CPO Aux Relay Volume is reached. Once
activated, the relay will stay closed for the amount of time set
in CPO Aux Relay Time. The Chemical Pump Output only
functions while in service, and the CPO volume is reset to zero
each regeneration. The Chemical Pump Output shares the
same relay as the Auxiliary Relay Output. See wiring diagram
for connection information.
