a-TroniX X45/10 Manuale di installazione e istruzioni per l'uso - Pagina 7
Sfoglia online o scarica il pdf Manuale di installazione e istruzioni per l'uso per Controllore a-TroniX X45/10. a-TroniX X45/10 16. Mppt solar charge controller

Machine Translated by Google
operation manual
MPPT solar charge controller X45/10
4. Dimensions
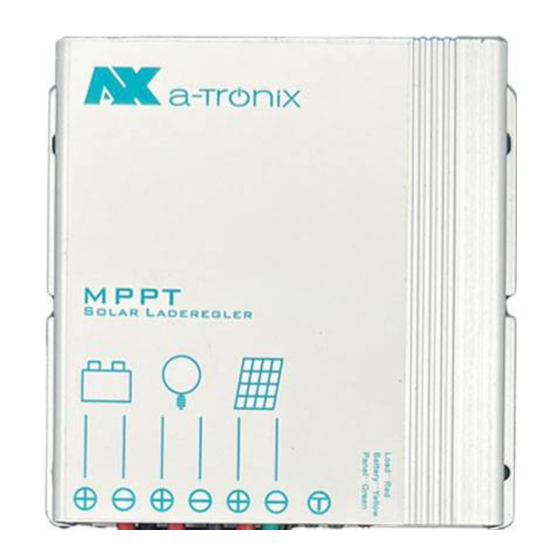
5.Installation
Make sure the cable lengths between the
battery and the controller are as short as
possible. Make sure that the cable cross-
section is sufficient and that you connect
it in the correct order:
1. First connect the load with the
corresponding cables
(positive pole=red (1) // negative pole=black (2)).
Then isolate them with a suitable insulating
tape (not included).
2. Then connect the battery.
It applies again
(positive pole=red (3) // negative pole=black (4)).
The load should now be switched on.
3. Connect the solar panel with the positive
cable (5) and the negative cable (6).
The controller starts
charging.
4. Check the status of the
LED display (see section 10).
02/2022
page 7
