DeZurik APCO AVV-1800K Manuale di istruzioni - Pagina 6
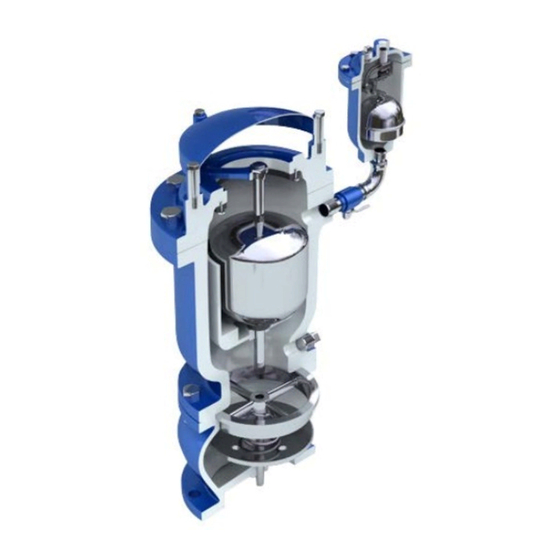
Sfoglia online o scarica il pdf Manuale di istruzioni per Unità di controllo DeZurik APCO AVV-1800K. DeZurik APCO AVV-1800K 18. Dual body combination air valve with optional csv surge check valve

DeZURIK
APCO AVV-1800/1800K Dual Body Combination Air Valve
with CSV Surge Check Valve
AVV-1800K Assembly (Continued)
n. Apply thread sealant to the threaded inlet of the ARV Air Release Valve.
o. For the ARV-200 Air Release Valve Only:
i. Apply Teflon tape to the threads on the outside of the reducer bushing (P9).
ii. Thread the reducer bushing (P9) into the inlet of the ARV 200.
iii. Using a wrench, torque the reducer bushing (P9) until secure.
iv. Apply thread sealant to the threads on the inside of the reducer bushing (P9).
p. Thread the inlet of the fully assembled ARV Air Release Valve onto the elbow (P7).
q. Using a chain wrench, torque the ARV Air Release Valve until secure.
5. Test the unit according to number 9 of the assembly procedure in the Maintenance section.
Installation
The APCO Slow Closing Custom Built Combination Valve should always be installed in a vertical
position. An isolation valve between this unit and the transmission (pipeline) system is recommended.
Where to use:
•
High points in pipelines where the hydraulic gradient and flow conditions are such that a negative
pressure can possibly occur.
•
High points on sections of pipeline having water velocities in excess of 10 F.P.S.
•
Adjacent to any quick closing valve in a pipeline such as a check or gate valve where vacuum
can occur upon closure.
•
On the discharge of larger deep well turbine pumps between the pump and the check valve.
•
If an Air/Vacuum Valve is to be installed inside a pump house, use threaded or flanged
connections and pipe back into the well or to outside. This will greatly muffle the high noise level
caused by the air being discharged and provide for drainage of any small amount of water or
water vapor that may accumulate.
•
Before installation, remove foreign material such as weld spatter, oil, grease, and dirt from the
pipeline.
•
Prepare pipe ends and install valves in accordance with the pipe manufacture's instructions for
the joint used.
•
Tighten the flange bolts or studs in a crisscross pattern and minimum of four stages.
Fusion/Powder Coated Valves
Valves with fusion/powder coated exterior paint require flat washers to be
installed under the flange nuts when installing the valve to the pipeline flange to
prevent the paint from cracking or chipping.
D12025
Page 6
June 2019
