DeZurik G-SERIES Manuale di istruzioni - Pagina 6

Sfoglia online o scarica il pdf Manuale di istruzioni per Controllore DeZurik G-SERIES. DeZurik G-SERIES 13. Lift, turn and reseat used on ptw & pfw tapered plug valves
Anche per DeZurik G-SERIES: Istruzioni (7 pagine), Manuale (8 pagine), Manuale (17 pagine), Manuale (14 pagine), Manuale (12 pagine), Manuale (14 pagine), Manuale (16 pagine), Istruzioni (19 pagine), Manuale (17 pagine), Manuale (9 pagine)
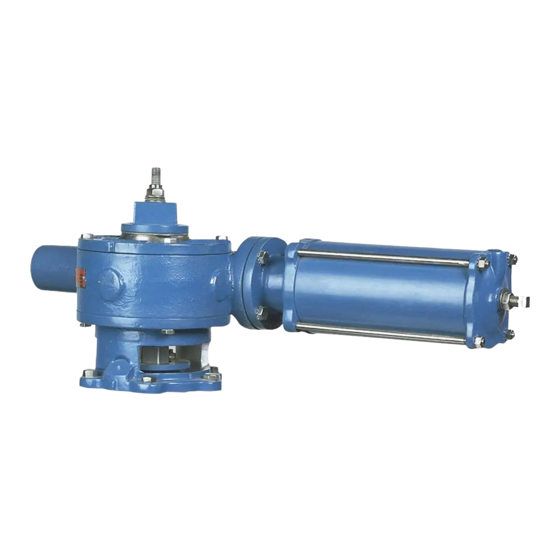
DeZurik G-SERIES Manuale di istruzioni
DeZURIK
G-Series Cylinder Actuator Used on BAW Butterfly Valves
Adjusting Position Stops
Adjusting Closed Position Stop
On 6A and 12A cylinder actuators, the Closed Position Stop is located in the end of the cylinder. See
Figure 2.
The actuator must be mounted before adjusting the position stop.
1. Loosen the Closed Position jam nut.
2. Adjust the Close Position screw to the proper position. Counterclockwise rotation of screw
increases the stroke, clockwise rotation of screw decreases the stroke.
3. Lock the Closed Position screw in place with the jam nut.
NOTE: Make sure the thread seal is positioned properly, and lock the setscrew in place with the jam nut.

Removing Actuator

1. Discontinue flow, relieve pipeline pressure and close valve.
Accidental operation of power actuator can cause personal injury or equipment damage.
Disconnect and lock out power to actuator before servicing.
2. Disconnect and lock out the pneumatic power to prevent accidental operation of the actuator.
3. Scribe corresponding lines on the valve and actuator to help align them during installation.
4. Remove screws (P4) and lockwashers (P10) and lift actuator assembly off adaptor (P1). See
Figure 4 for connecting parts identification.

Installing Actuator

1. Line up the scribe marks on the valve and actuator made
during actuator removal, then set the actuator on the
valve so that the valve shaft slides into the actuator gear
sector.
2. Fasten the actuator assembly to the adaptor plate (P1)
with lockwashers (P3) and screws (P2). See Figure 4 for
connecting parts identification.
3. Place the key into the key slot in the valve shaft and
gear.
4. Secure key by staking with a center-punch on the end of
the shaft. Stake on both sides of the shaft as shown in
Figure 3.
Note: Do not deform the outside diameter of the shaft.
D10480
(Continued)
Page 6
Figure 3 – Shaft Key Staking
August 2012