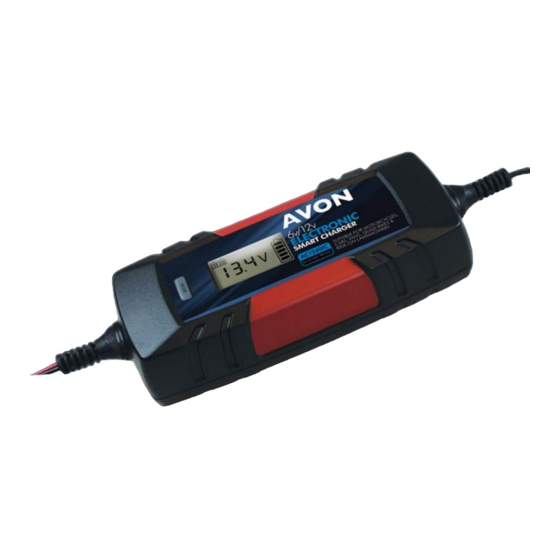
Avon AC1240IC Manuale di istruzioni e informazioni - Pagina 3
Sfoglia online o scarica il pdf Manuale di istruzioni e informazioni per Caricabatterie Avon AC1240IC. Avon AC1240IC 5. Electronic smart charger

To avoid battery acid splashing, the cell caps should be replaced but not tightened until charging is complete.
This allows any gases formed during charging to escape. It is inevitable that some minor escape of acid will
occur during charging. If your battery is permanently sealed it is unnecessary to carry out these checks.
2. CHARGING LEAD SELECTION
Interchangeable ring terminal and fully-insulated battery clip charging leads are supplied. Select the
appropriate lead for your application and attach to the charger output lead using the quick-fit connector fitted
to each, before connecting the charger to either the mains supply or to the battery. NOTE : Quick fit ring
terminal leads are useful for applications where the battery is not easily accessible, as with some
motorcycles.
3. CONNECTION
To avoid sparks which could cause an explosion, the mains supply should always be disconnected before
making or breaking battery connections. Connect the battery clips or ring terminals to the battery in the
following order:
1) Connect the positive charging lead (RED) to the positive post of the battery (marked + / +ve or P).
2) For vehicles with the battery still installed: Connect the negative charging lead (BLACK) to the
vehicle chassis (marked - / -ve or N), well away from the battery, fuel line, and hot or moving parts.
For batteries removed from the vehicle: Connect the negative charging lead (BLACK) to the
negative post of the battery (marked - / -ve or N).
After connecting the clips, rotate them slightly so as to remove any dirt or oxidization, thus ensuring a good
contact.
4. CHARGING
WARNING! DO NOT ATTEMPT TO START THE VEHICLE WITH THE CHARGER CONNECTED TO THE
BATTERY. THIS MAY DAMAGE YOUR BATTERY CHARGER.
1) Switch on the mains power supply. For 12V batteries select the charging mode appropriate for your
battery by pushing the MODE button. The display will cycle through the available options (12V STD,
12V AGM, WINTER). The charger will now automatically measure the voltage of your battery and
diagnose its condition. Providing the battery is in an acceptable condition the charge cycle will now
commence and the LCD display will now show charging information. For 6V batteries the charger will
automatically commence the 6V STD charging program.
2) When the battery is fully charged with 5 bars shown on the display, the charger will switch to provide a
maintenance float charge and may be left connected to the battery.
The 5 step charging program is:
1) Battery condition diagnosis & recovery with pulse charging
2) Battery preparation with soft start
3) Automatic current selection & bulk charging - charging with constant current
4) Constant voltage absorption charging, after which charging ceases automatically for 1 minute.
5) Maintenance float charging - When the battery is fully charged the charger will maintain the condition of
your battery automatically through voltage monitoring and pulse charging.
5. WHEN CHARGING IS COMPLETE
Switch off the mains supply, unplug the charger & disconnect the clips from the battery, negative (BLACK
lead) first. Then disconnect the (RED) positive lead from the battery. Or, if used, disconnect the ring terminal
charging lead in the same way. The lead can be left permanently attached to a vehicle battery but the
end-cap must be fitted at all times to prevent short circuit, sparks or dirt/water entry. When not in use
the charger should NOT be left connected to this lead.
2
